
How to configure the navigation
Who can configure navigation?
Admins and Devs can configure navigation in the back office.
Where can I configure navigation?
To find Navigation settings, go to “Settings” at the bottom of the “Manage” menu.
Click “Navigation” in the submenu.
If you can’t see the submenu, click the arrow to the right of “Settings.”
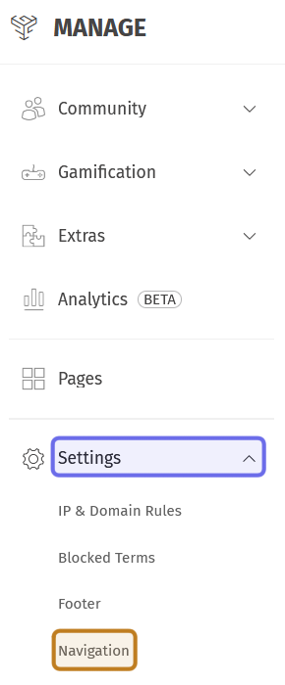
The “Manage” menu is pictured above. “Settings” is highlighted in purple. The submenu is expanded and “Navigation” is highlighted in yellow.
How do I configure navigation?
The “Navigation” settings page has two tabs: “Main navigation” and “Studios navigation.” Both allow you to configure the order of items in menus on the front end. Click on a tab to configure that navigation menu.
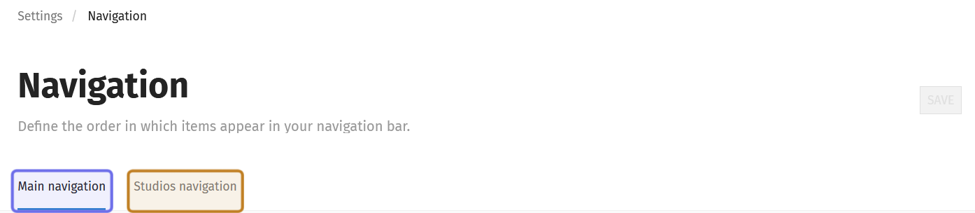
The header of the “Navigation” settings page is shown above. The “Main navigation” tab is highlighted in purple. The “Studios navigation” tab is highlighted in yellow.
Main navigation
Under the “Main navigation” tab, you can reorder Universes and Studios that appear in the Side Navigation. The three sections (“Recommended,” “Legacy,” and “Studios”) are shown in the same order they appear on the front end.
Note: When you create a new Universe, it is added to the bottom of the list in the “Recommended” or “Legacy” section. “Main navigation” settings allow you to, for example, place a newly released game’s Universe at the top of the “Recommended” section.
You can reorder the items in a section by dragging and dropping the item.
To drag an item, click and hold the vertical dots on the left-hand side. Then, move the cursor to the item’s new location. You will see a vertical line representing the held item’s current location as you move the cursor up or down the list.
When the item is at the target location, release the mouse button.
Note: You cannot move Universes between “Recommended” and “Legacy” in the “Navigation” settings. To change the Navigation highlight, use Universe configuration.
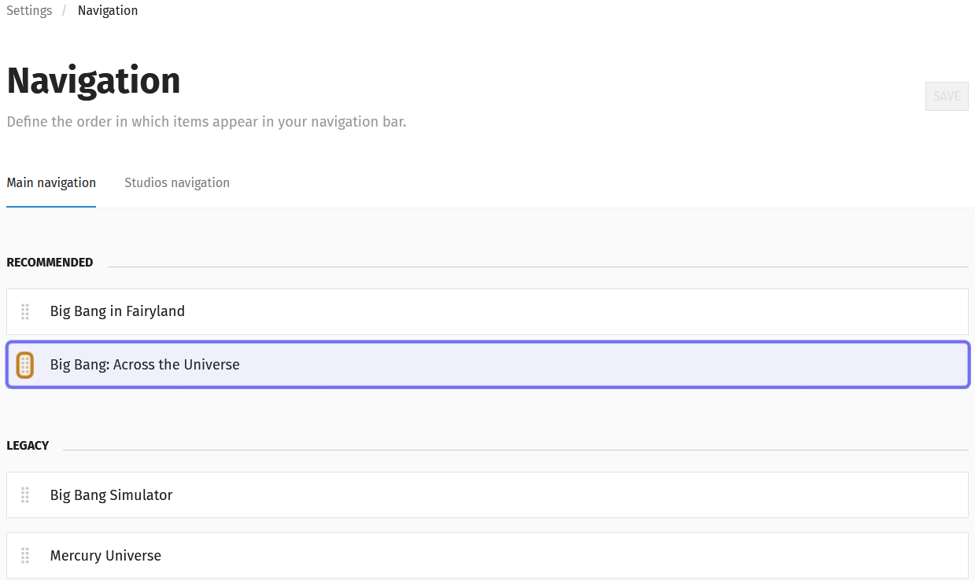
A navigation item is highlighted in purple. The vertical dots that drag the item are highlighted in yellow.
The item will be dropped in its new position in the list. You can reorder one or more items at a time.
Note: If you have multiple Studios, you can reorder them by scrolling down the page.
Once the section shows the desired order, click “Save.” The “Save” button is located on the right-hand side of the page header. It will be greyed out until you successfully move one item.
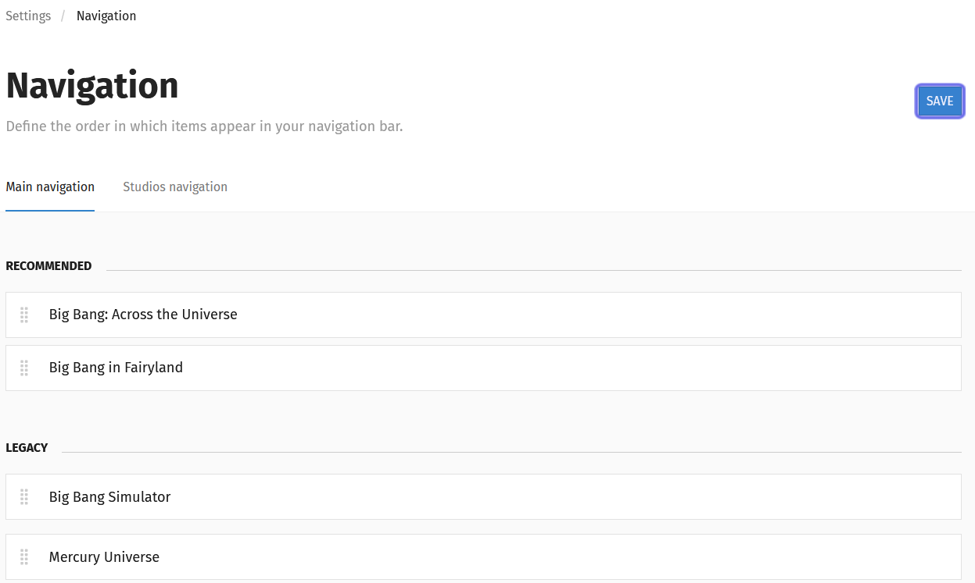
A reordered “Recommended” section is shown. The “Save” button in the top right is highlighted in purple.
Studio navigation
Under the “Studio navigation” tab, you can reorder the Universes listed in a Studio page menu on the front end. The top of the list will be the leftmost Universe, next to home. If the number of Universes exceeds the space in the page menu, the rightmost Universe(s) will be hidden under the three dots.
Note: If you have multiple Studios, scroll to the section that has the name of the Studio whose page menu you want to edit at the top.
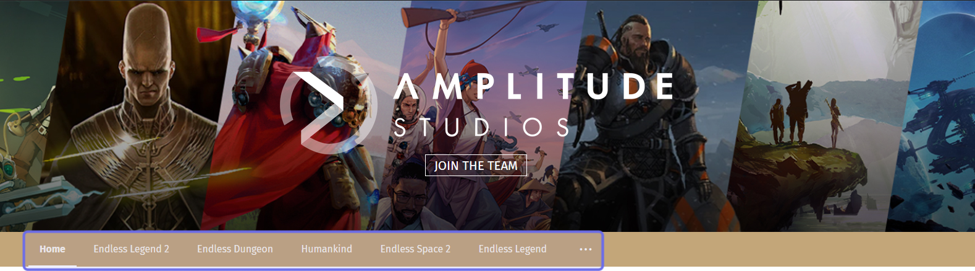
An example of a front-end Studio page menu is highlighted in purple.
Drag and drop an item to move it into a new menu position.
To drag an item, click and hold the vertical dots on the left-hand side. Then, move the cursor to the item’s new location.
When the item is at the target location, release the mouse button.
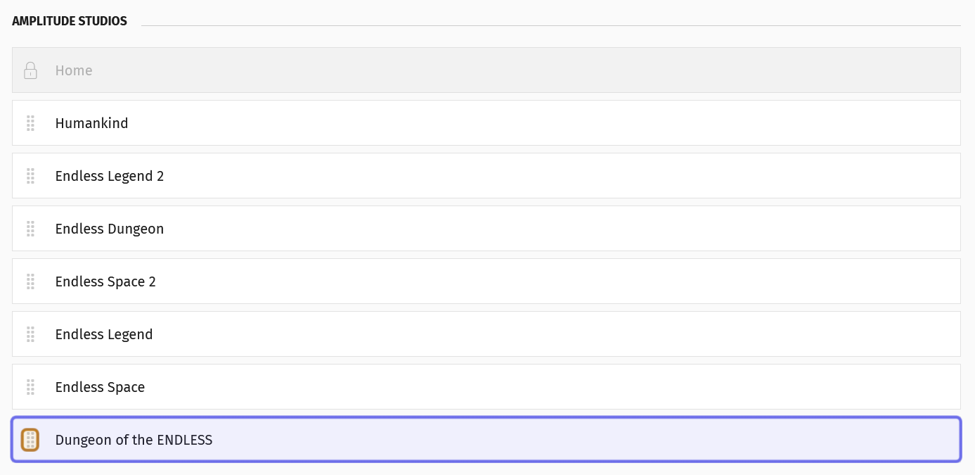
A navigation item is highlighted in purple. The vertical dots that drag the item are highlighted in yellow.
The item will be dropped into its new position and the list reordered accordingly.
After reordering the list, click “Save” found in the right side of the page header.
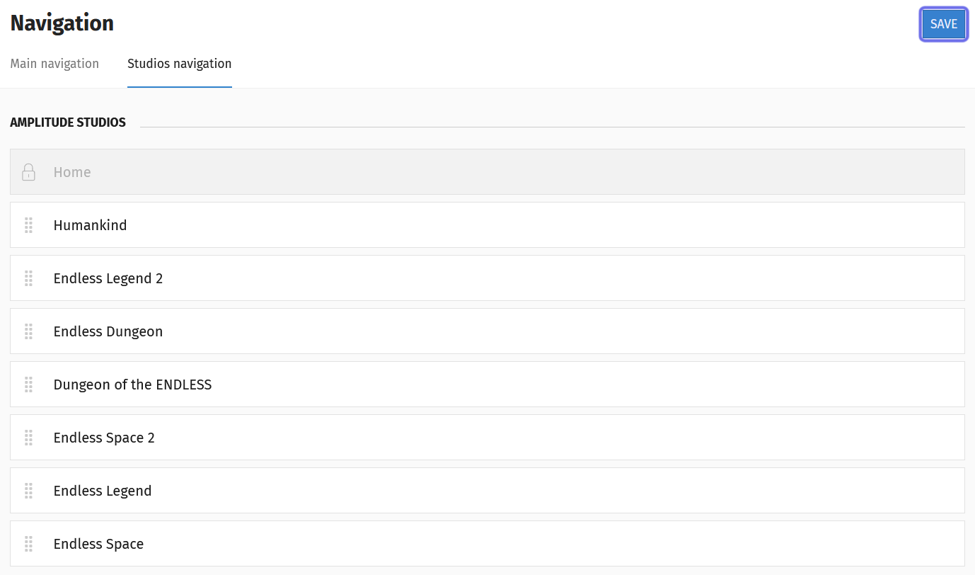
A reordered Studio page menu is shown. The “Save” button in the top right is outlined in purple.