
How to create a new avatar ?
Who can create avatars?
Users with a Restriction Level of Admin or Dev can create avatars.
Where do I create a new avatar?
You can create avatars in the back office. Locate the “Gamification” section on the left, then select “Avatars.” This will take you to the “Avatars” page.
Then, click on the “Add Avatar” button on the right-hand side of the page header to open the “Create Avatar” side panel.

The “Add Avatar” button is to the right of the “Avatars” page header.
It is highlighted above in purple.
How do I create a new avatar?
To add a new avatar, first enter an identifying word or phrase for the avatar into the “Name” field. This field is located at the top of the “Create Avatar” side panel.
Below the “Name” field is a dropdown labeled “Unlocked by the badge.” This dropdown contains a list of every badge name. Select the badge you’d like to connect the avatar to.
Selecting a badge name will open a sublist of all quests associated with that badge. Select a quest. The avatar will be unlocked when a user completes that quest and unlocks the related rank. Avatars can also be unlocked if a rank is unlocked manually or via batch unlock.
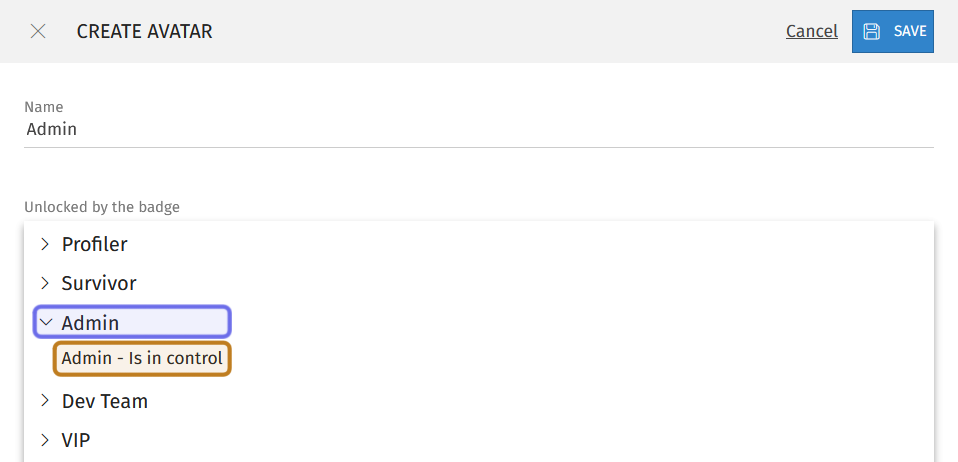
The screenshot above shows an open “Unlocked by the badge” dropdown. The badge name is highlighted in purple. The badge quest is highlighted in yellow.
Below the “Unlocked by badge” dropdown on the left is the “Position” field. Enter an integer. This defines where the avatar will be displayed on the “Profile” page under the “Rewards” section.
Users can click “Avatars” in the submenus under “Rewards” to see a grid displaying all unlocked or visible avatars. Avatars are organized horizontally in a grid in ascending order based on the integer entered into the “Position” field.
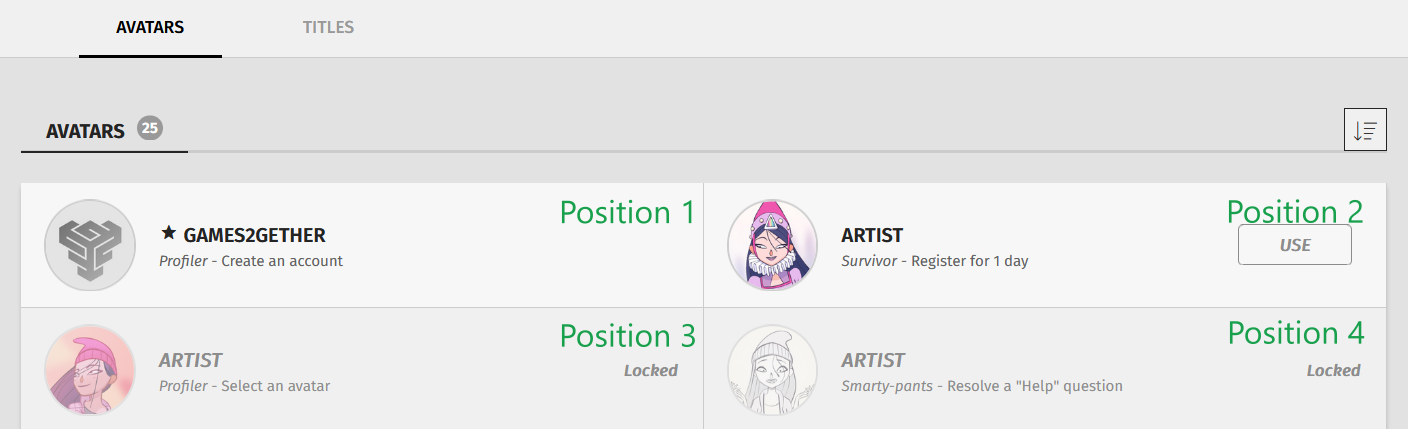
A part of the grid of available avatars on the front end is shown above.
The numbers entered into the “Position” field are indicated in green text.
To the right of the “Position” field are two dropdowns: “Universe” and “Studio.” Click each dropdown and select the Universe and Studio this avatar should be associated with.
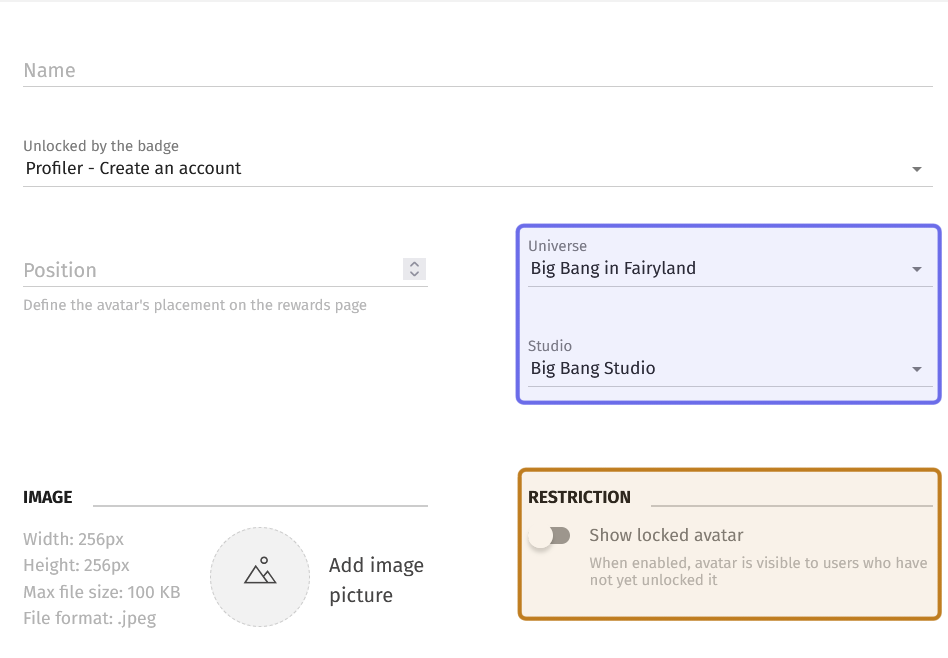
The “Universe” and “Studio” dropdowns are highlighted in purple.
The “Show locked avatar” toggle is highlighted in yellow.
Beneath the “Universe” and “Studio” dropdowns is a toggle labeled “Show locked avatar.” If this is toggled on, users will be able to see the avatar on the front end before they unlock it. Click to toggle on.
Note: If “Show locked avatar” is toggled on, members can see the badge quest needed to unlock the avatar. This can give your users something to aim for!
Now it’s time to upload the avatar itself!
To upload an avatar image, look to the left of the “Show locked avatar” toggle. There is a section labeled “Image” that includes the file requirements and a grey circle with an icon of mountains. Click the circle to browse and upload your avatar image.
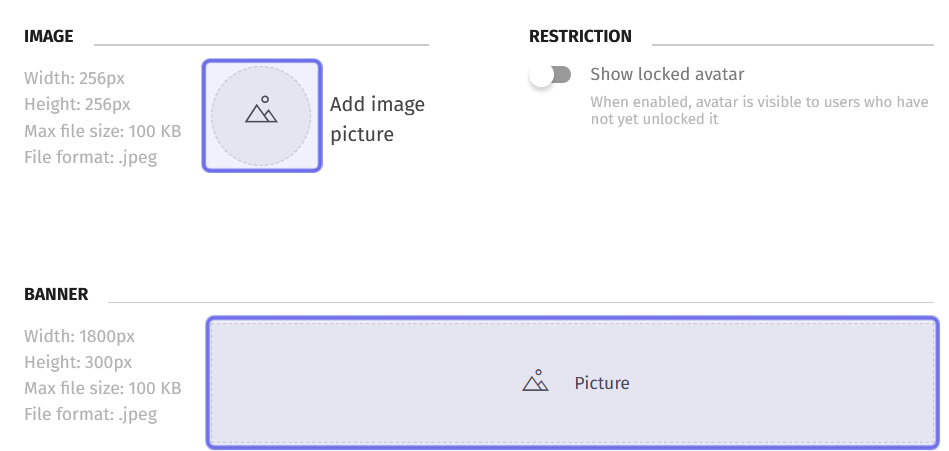
Clicking the shapes highlighted in purple above will open a browser window to upload an image.
You can optionally pair a banner with the avatar. Look below the “Image” section for a section labeled “Banner.” As with “Image,” there is a list of file requirements and a grey square with an icon of mountains. Click on this square to browse and upload your banner.

The screenshot above shows a user’s “Profile” page header. Their avatar is highlighted in purple. The profile banner tied to the avatar is in greyscale.
Once you have uploaded the image(s), click the “Save” button. You can find the “Save” button in the top right of the “Create Avatar” side-panel.
The new avatar will be added and available for the community to unlock!