
How to modify a “Studio Presentation” content block
Who can add a new “Studio Presentation” content block?
Devs and Admins can add a new content block in the CMS.
Where can I add a new “Studio Presentation” content block?
You can add new feature blocks in the CMS. Find the CMS for the landing page and for Universes in the back office.
Once you are on the CMS page for the page you want to modify, you will see a graphical representation of the block layout on the left and a layout side panel on the right.
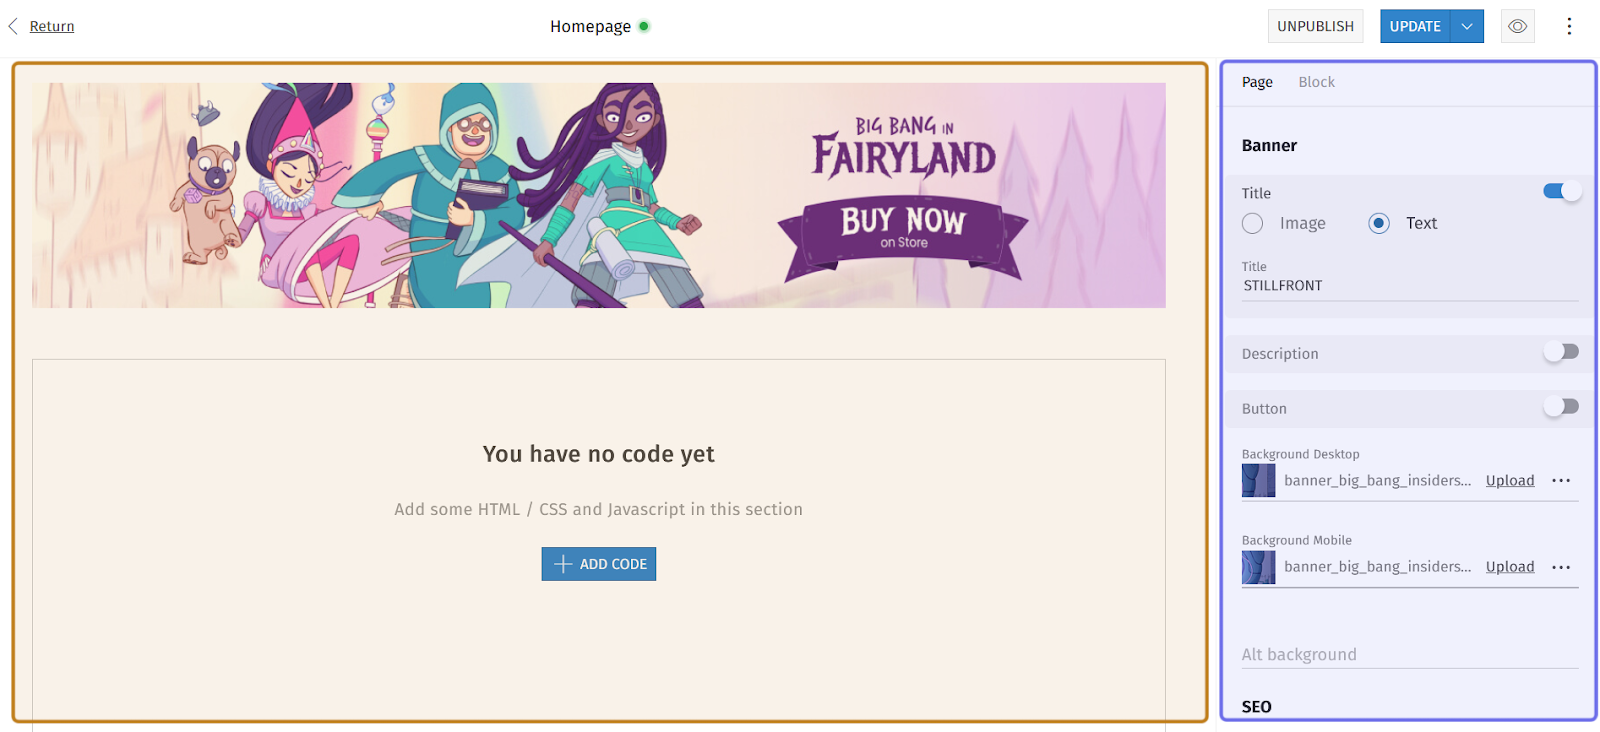
An example of the CMS is pictured above. The graphical layout is highlighted in yellow. The side panel is highlighted in purple.
How do I add a new “Studio Presentation” content block?
To add a new panel to a page, click the “+” button. Hovering over any block in the graphical layout view on the left will bring up the button.
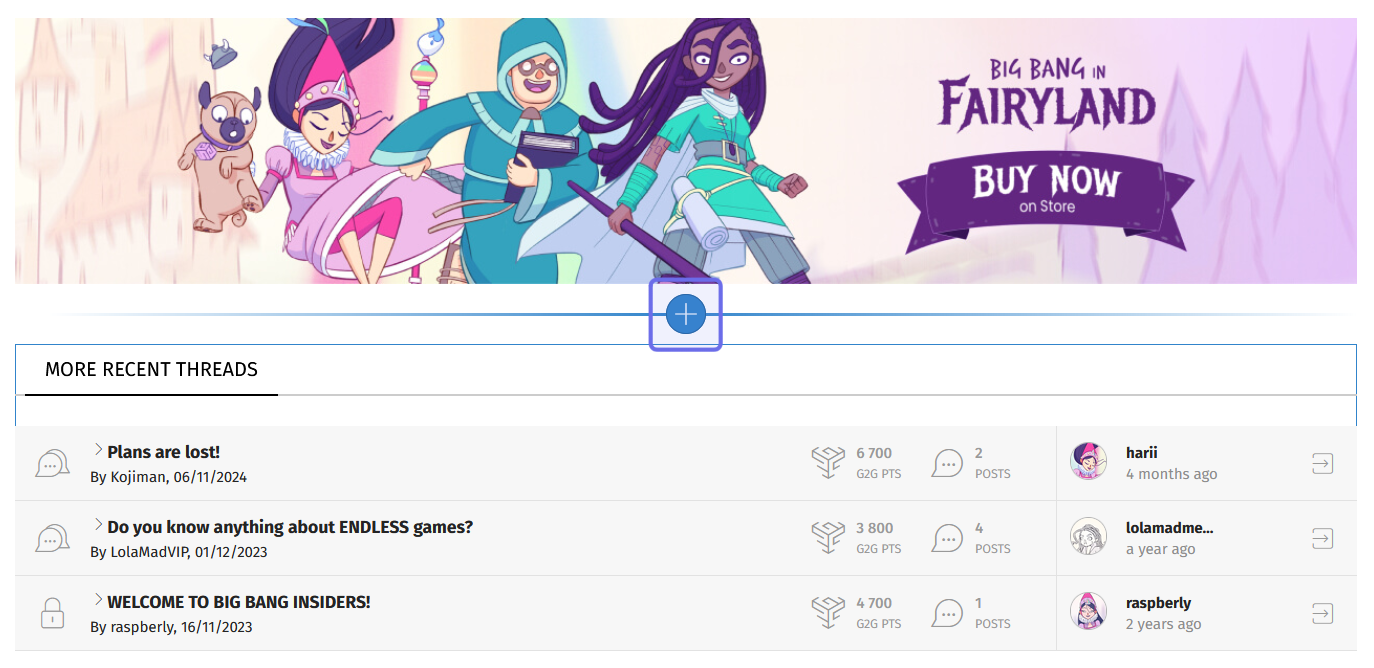
An example of the graphical layout of the CMS is above. The “+” button to add a new block is highlighted in purple.
Clicking the “+” button will open a menu. Select “Studio presentation.” You can find the option either by scrolling through the list, or by using the search bar at the top of the menu.
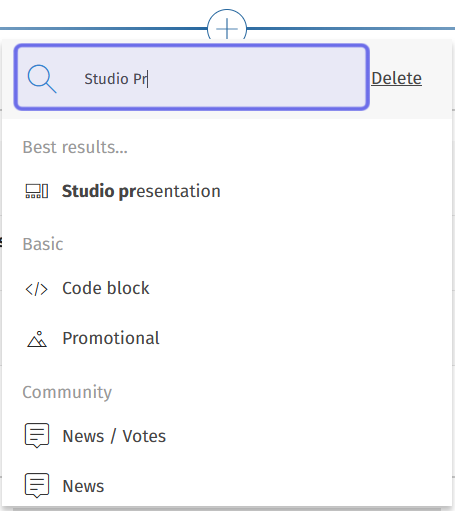
The search bar at the top of the “+” menu is shown highlighted in purple above. The results show the “Studio presentation” option now at the top of the menu.
A new block will be added in the location of the “+” button when you select “Studio presentation” from the list.
Click the new block or select the “Block” tab from the side panel on the right to see the options for editing the block’s content.
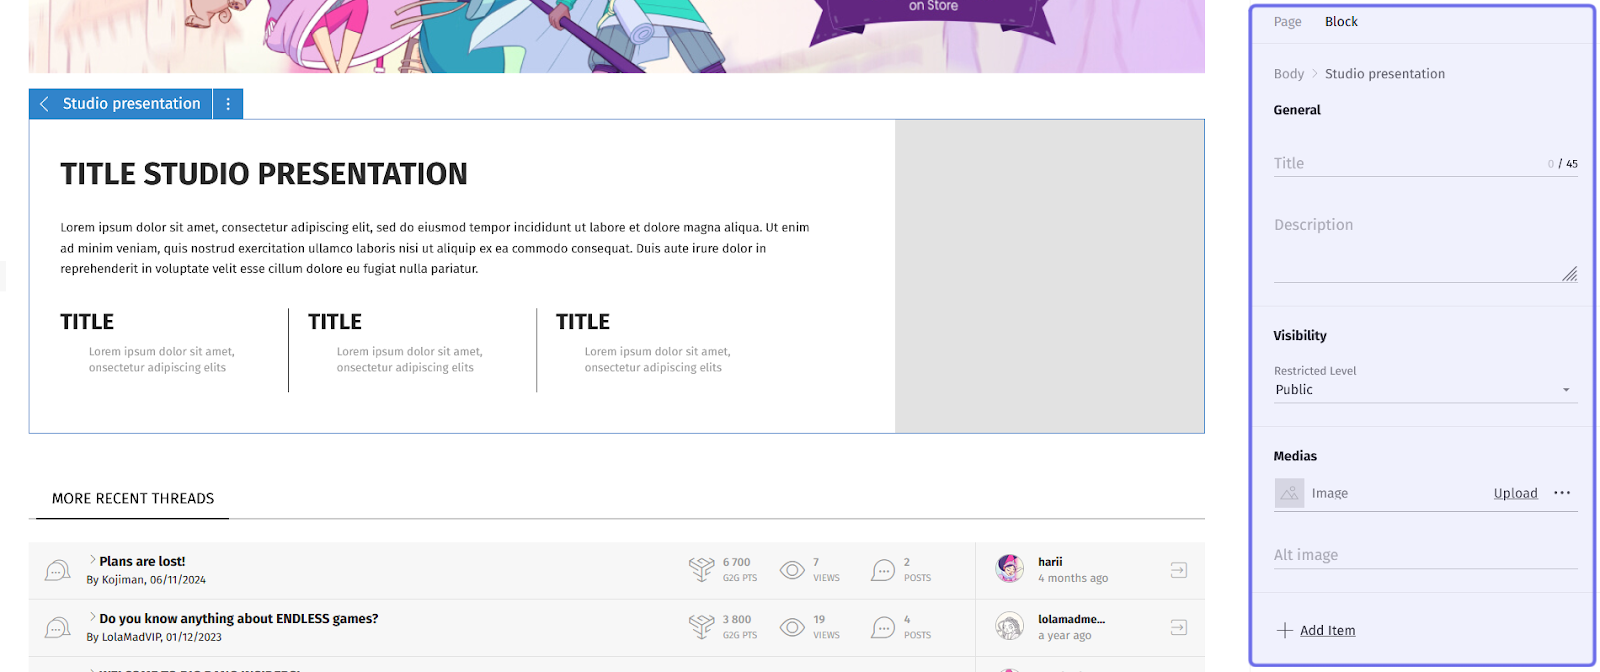
An example of a CMS page is shown above. The side panel with options for editing a new “Studio presentation” block’s content is highlighted in purple.
At the top of the side panel you will see a section labeled “General.” This section has two fields: “Title” and “Description.”
Enter a title for the block by typing in the “Title” text field. There is a 45 character limit.
Next, enter descriptive text in the “Description” text field. This text will be displayed directly below the title in the content block. There is a 240 character limit.
Note: As you fill out the text fields, the block preview in the graphical layout will update.
Below “General” is the "Visibility" section. This has one dropdown. It is set to “Public” by default. This means the block will be visible to all page visitors. If you want to hide the block from some visitors, choose a Restriction Level from the dropdown. Only visitors with that Restriction Level or above will be able to view the block.
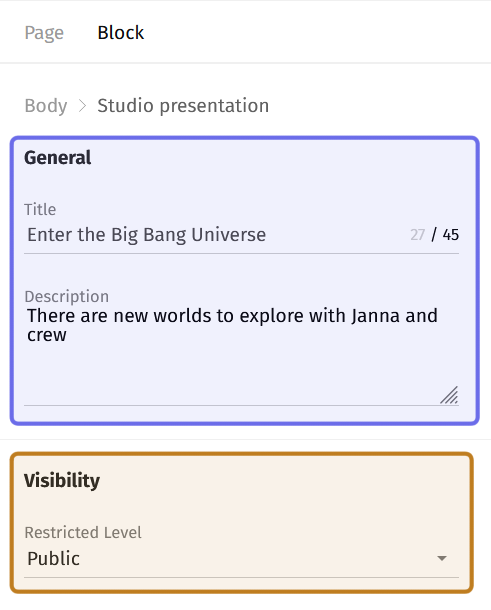
The top of a side panel to edit a “Studio presentation” block’s content is shown above. The “General” section where you can add a title is highlighted in purple. The “Visibility” section where you can restrict who can see the block is highlighted in yellow.
Below “Visibility” is the “Media” section, where you can add an image to the “Studio presentation” block. This gives you the chance to make the block pop and to illustrate your text.
Click “Upload” in the image field beneath “Media” to browse and select an image. Once it is uploaded, you will be able to see the image in the preview of the block on the left.
Note: The image must be 345x345px and cannot exceed 100MB.
Next to the “Upload” button are three dots. Clicking these three dots will open a menu where you can download an image template or delete an existing image.
Below the image field, you have the option to also add alt text. Alt text descriptions are used when an image has trouble loading and by screen readers.
Type a short image description into the “Alt image” text field.
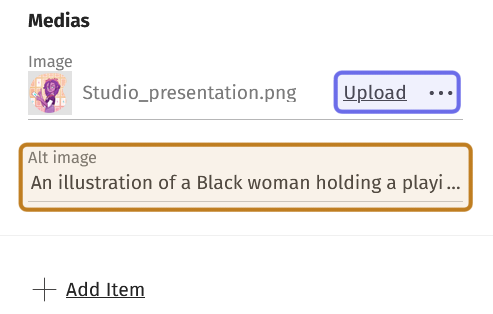
The “Media” section is shown above. The “Upload” button and three dots that access a menu are highlighted in purple. The “Alt image” field to add alt text is highlighted in yellow.
Next, you can add items to the “Studio presentation” block. These are subsections below the title and description that contain a title, text, and an optional bulleted list.
To add an item, click the “+Add Item” button. You can find it either below the “Media” section or below a previous item.
Note: You are limited to three items in a single “Studio presentation” block.
When a new “Item” section is added, type in the “Title” text field to give the item a title. There is an 18 character limit.
Next, add a subtitle or other short copy in the “Subtitle” text field. There is a 55 character limit.
Lastly, you have the option to add a list beneath the title and subtitle. Add list items by typing in the “Sub items” text field.
Separate each list item with a semicolon (;). The entire list is limited to 120 characters.
As you fill out the “Item” fields, the corresponding block on the left will update.
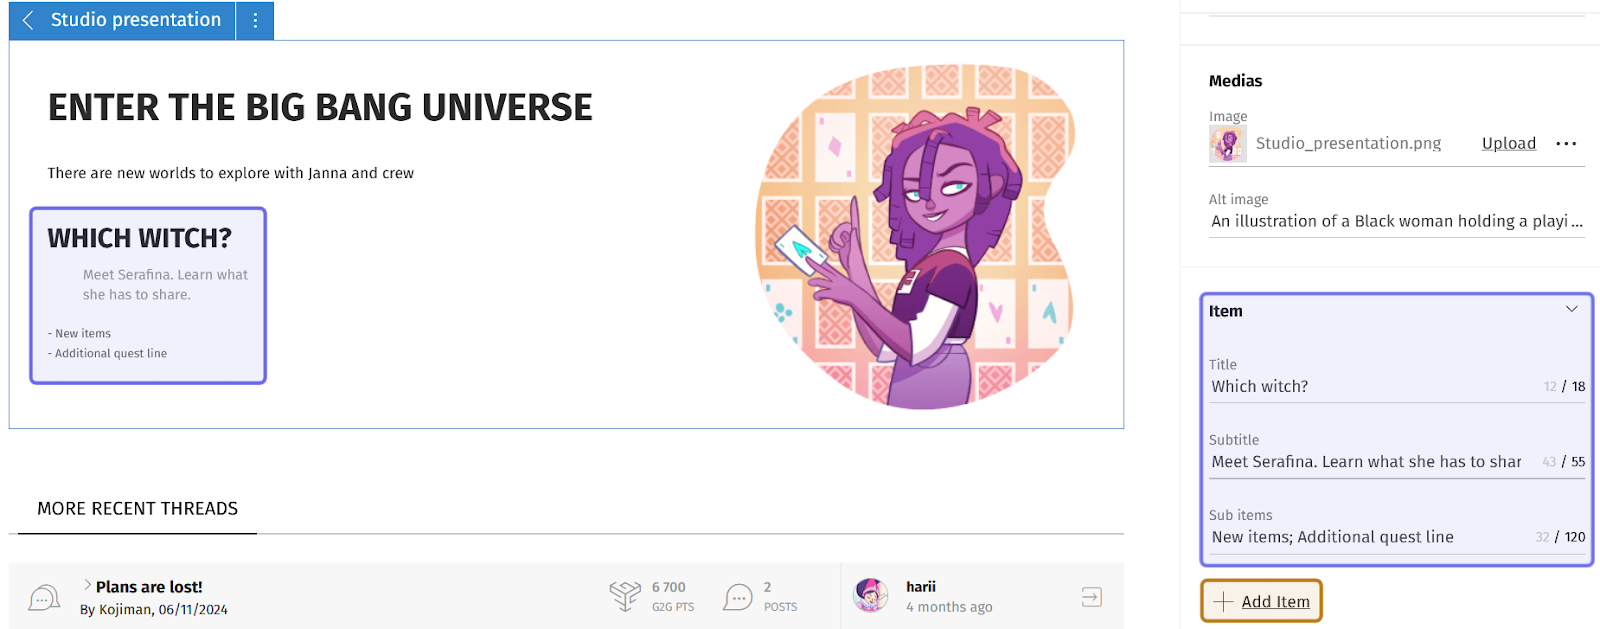
A “Studio presentation” block in the graphical layout and its associated fields in the side panel are shown above. An item as it appears in the graphical layout on the left and the side panel on the right are both highlighted in purple. The “+Add Item” button is highlighted in yellow.
Click “+Add Item” at the bottom of the side panel and repeat the process to add a second item. The items will be ordered left to right in the “Studio presentation” panel in the order you added them.
Note: Want to check out your changes before making them live? Look for the eye icon in the top right of the page. Click the eye to open a new window that shows what your pending changes will look like on the front end!
Once you have added your items, remember to update the page!

The image above shows an example of a “Studio Presentation” block on the front end. The title and description found in the “General” section are highlighted in purple. The image uploaded under “Media” is highlighted in yellow. The added items are highlighted in green.