
How to customize the list of blocked terms
Who can customize the list of blocked terms?
Admins and Devs can access some settings for G2G’s anti-spam service, including blocked terms, in the back office.
Where can I customize blocked terms?
To customize the terms blocked on the G2G platform, navigate to the back office. Scroll down to “Settings” in the “Manage” menu. Click to expand the menu and select “Blocked Terms.”
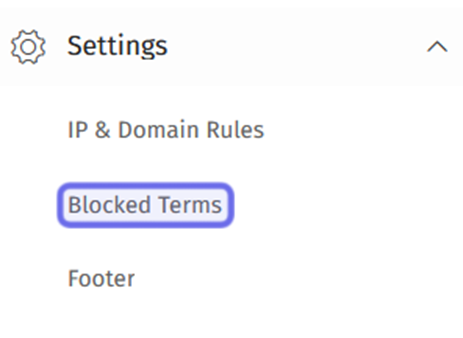
The “Settings” dropdown in the “Manage” menu is shown above. “Blocked Terms” is highlighted in purple.
How do I add a blocked term?
At the top of the “Blocked Terms” page is a box titled “Add Blocked Terms.” It contains a text field with the instruction “Enter words or phrases” and a numerical field labeled “Spamming score.”
To add a new blocked term, enter the term you want to restrict in the text field. The list of blocked terms is not case-sensitive, but will only block otherwise exact matches. Any variations on a term that you want to block must be listed separately. This includes plurals, different tenses, or common misspellings intended to bypass filters.
Note: Adding the term “curse” to the block list will block “Curse,” “CURSE,” “cUrSe” and any other combination of uppercase and lowercase letters. It will not block “curses,” “cursed,” “curs3” or any other variants that include additional letters or characters.
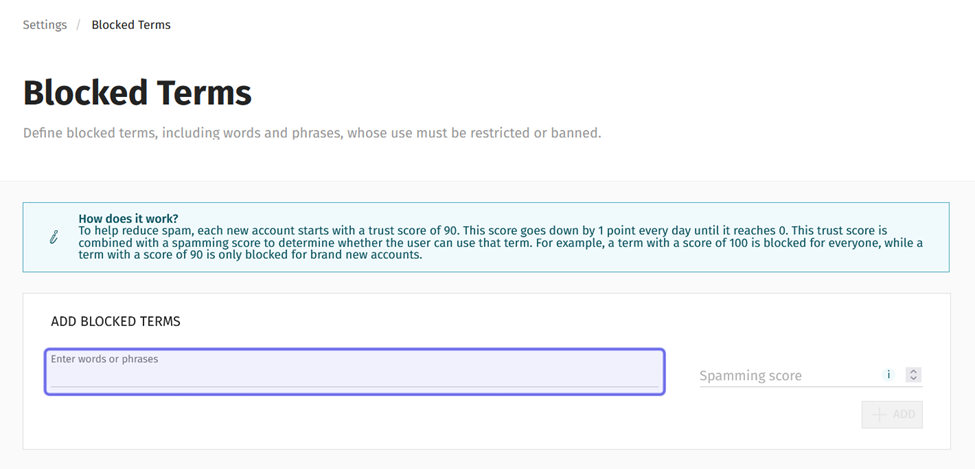
The “Add Blocked Terms” box on the “Blocked Terms” page is shown above. The text field where you enter a new blocked term is highlighted in purple.
Enter a number 10 - 100 in the “Spamming score” field. Terms with a score of 100 are blocked in all instances. Terms with lower scores can be posted in certain cases.
Every registered member is assigned a “Spam score” of 100 at sign up. This score decreases the longer they are registered. When a user posts content, a “Spam Rating” is calculated using the account’s Spam score and the Spamming scores of any blocked terms used in the post.
Content’s Spam Rating = Account Trust Score + Blocked Term’s Spamming score(s)
If the Spam Rating is 100 or greater, the user will not be able to post that content.
To add the term to the list of blocked terms, click the “+Add” button below the “Spamming score” field.
Note: If you try to add a term already in the list, you will see an error message.

The “Add Blocked Terms” box is shown above. The “Spamming score” field is highlighted in purple. The “+Add” button is outlined in yellow.
Can I edit or delete a blocked term?
You can change a blocked term’s Spamming score, edit the term itself, or delete the term from the list entirely.
First, find the term in the list of blocked terms. You can find the list below the “Add Blocked Terms” box. Each term is a row in the list with two buttons on the rightmost side.
The “Edit” button is a rectangle with a line through the top-right corner. The “Delete” button looks like a trash can.
To edit a term, click the “Edit” button.

A row in the list of blocked terms. The “Edit” button is highlighted in purple.
The term will re-open in the “Add Blocked Terms” box at the top of the page. The “+Add” button in the lower right of the box will be replaced by a “Cancel” button and an “Update” button.
Make your changes to the blocked term and/or its “Spamming score.”
Then, click “Update.” If you no longer wish to apply changes, click “Cancel.”

The “Add Blocked Terms” box is shown above with the “Update” button outlined in purple.
To remove a term from the list, click the “Delete” button.

A row in the list of blocked terms. The “Delete” button is highlighted.
A window will pop up asking you to confirm that you want to delete the term. Click “Delete” to confirm. Hit “Cancel” if you aren’t ready to delete the term.
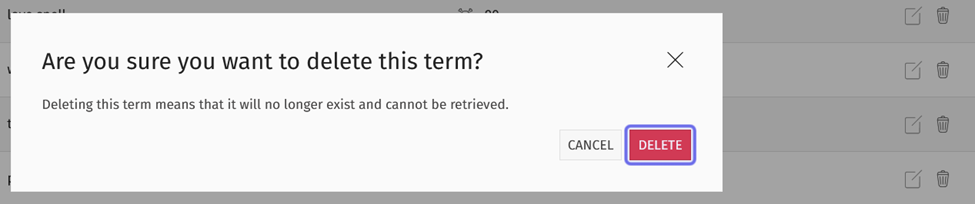
The pop-up window that confirms a term’s deletion is shown above. The “Delete” button is outlined in purple.
If you need to block a deleted term again, you can add it back to the list of blocked terms.