
How to create a News article ?
Who can create a news article?
Devs and Admins can create news articles.
Where can I create a news article?
You can find the “News” feature in a Universe’s dropdown in the back office.
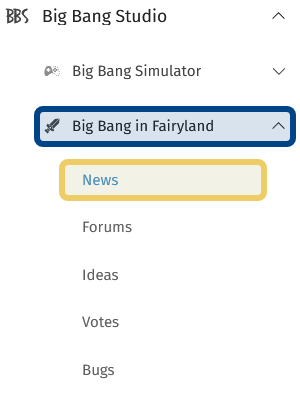
The Universe dropdown is highlighted in dark blue.
The “News” page link is highlighted in light yellow.
At the top of the “News” page, there is a button labeled “Add News” on the right-hand side.
How do I create a news article?
Click on the “Add News” button to start creating a new news article. This opens an article edit page. It includes a text editor block along with several options for formatting and publishing a new article.

The “Add News” button on the top of the right-hand side is highlighted in dark blue.
The fields for the article’s core content are on the left-hand side. At the top is a text box for the article title. The title should clearly communicate what the article is about; it will be used both to identify the article in the back office and serve as the article’s headline.
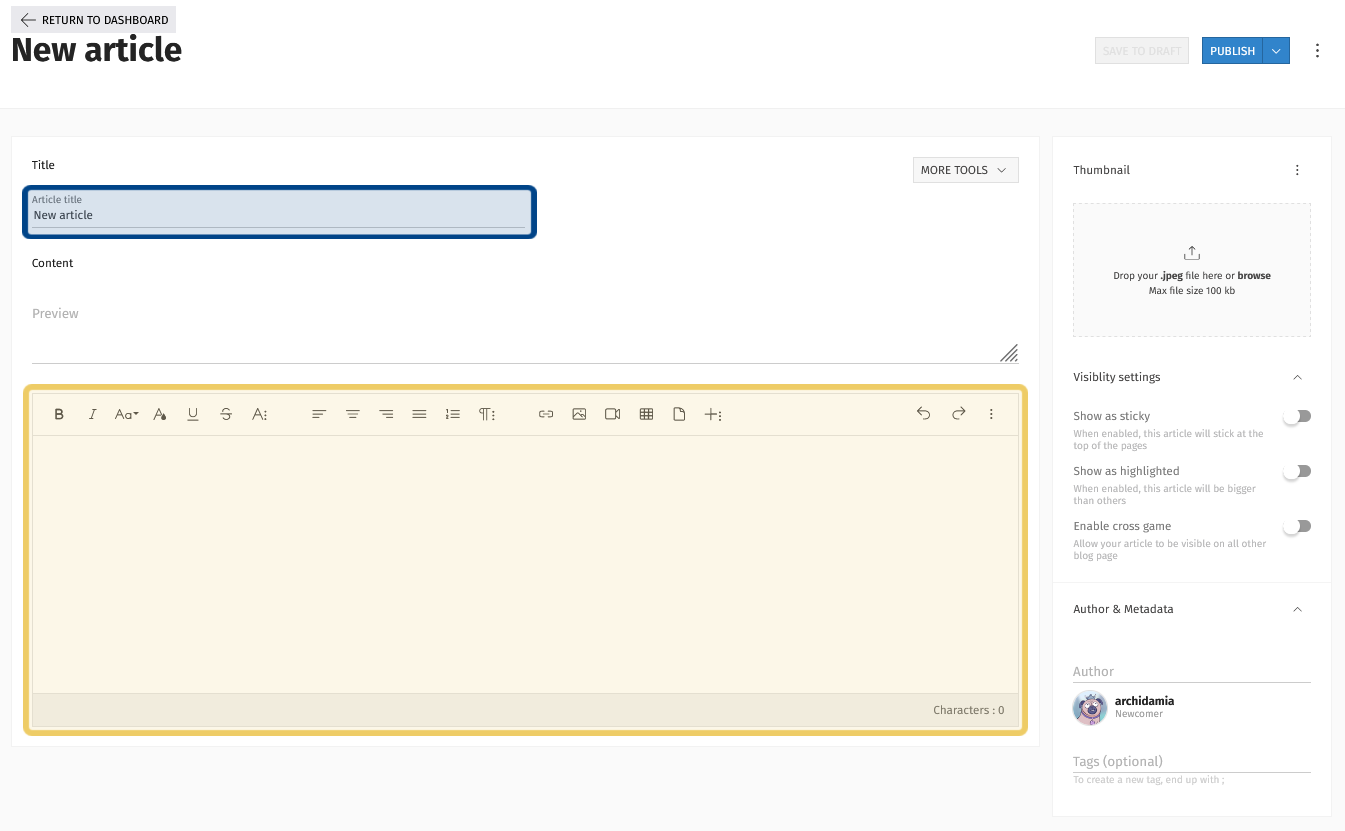
The “Title” text box is highlighted in dark blue.
The text editor for the article’s core content is highlighted in light yellow.
Below the title field is a WYSIWYG text editor. Enter your article text here. The text editor’s toolbar gives you options to format and organize the text. The text editor block gives you a good idea of how your content will appear on the front end.
Add Media to an Article
You can add videos, images, and files to news articles using the standard text editor tools. Click on the relevant icon in the toolbar to drag and drop or browse to upload media. You can also link to media hosted offsite.<

The section in the toolbar that contains the tools to add media is highlighted in dark blue.
Also highlighted are the tools to add a link or add a table to the article.
Setting up an article preview
The article preview is visible on any Universe page that includes a “News” block. This image and snippet of text can summarize the news and draw your readers to view more.
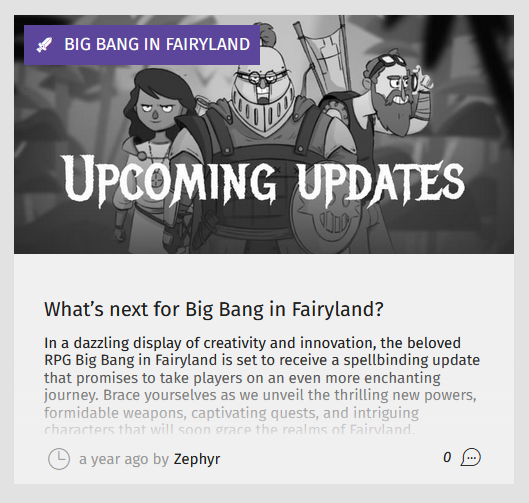
An example of a “News” block preview.
Add a summary or representative text from the article in the text box labeled “Preview.” You can find this text box between the “Title” text field and the text editor on the left.
Then, select an image to appear in the preview beneath “Thumbnail” on the left-hand side. To upload an image, click and drag into the space provided or click to browse.
A thumbnail image is required. The image must be 800x385px and cannot be over 100KB.
If you need some guidance on getting your thumbnail just right, click the three dots next to where it says “Thumbnail.” This will give you the option to download a template.
The three dots button where you can download a template is highlighted in dark blue.
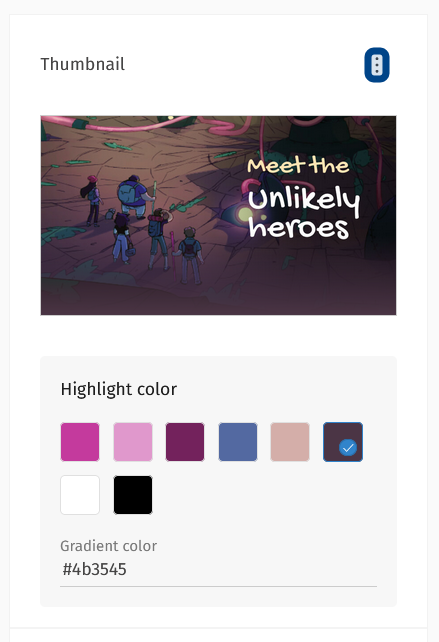
The highlight color swatches and gradient color text box is beneath the thumbnail image.
Lastly, you can customize the preview by selecting a highlight color. This will overlay the thumbnail as a gradient on the front end “News” page. You can select from the available swatches, or add a hex code in the field labeled “Gradient color.”
Choosing the visibility settings
To the right of the text editor is a field labeled “Visibility settings” with three toggles. These toggles let you determine how the article will appear on the front end. A toggle is on if it is set to the right.
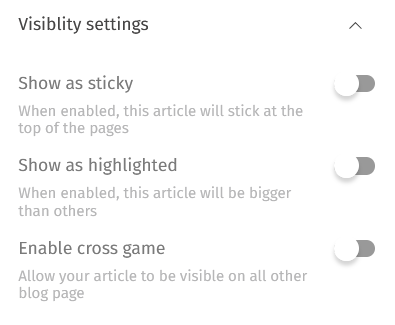
A series of three toggles on the right of the article edit page make up the visibility settings.
All are toggled off in the image above.
Show as sticky: Click this toggle to set the published article to remain at the top of the Universe’s “News” page.
Show as highlighted: Click this toggle to have the published article’s thumbnail display larger than others on the Universe’s “News” page.
Enable cross game: Click this toggle to display the article across all of a Studio’s Universes on the “News” page and in “News” blocks.
Note: If you are unable to see the toggles, click on the down arrow next to “Visibility settings.”
Adding article metadata
You can update the article’s metadata below the visibility settings. The available metadata are author and tags.
The author is automatically set to the user who creates the article. If you want to set a different author, type another username in the text field labeled “Author.” As you type, a dropdown will appear. Select the correct user from the dropdown to update the “Author” field.
Below the author’s username, you are able to add tags. Tags are not required, but can help your community find articles of interest. Learn more about tags on news articles here.
How can I add a form to a news article?
You can add a form hosted offsite to your news article. Start by clicking the “More Tools” button. You can find it to the right of the “Title” field. An “Add form” option will drop down.
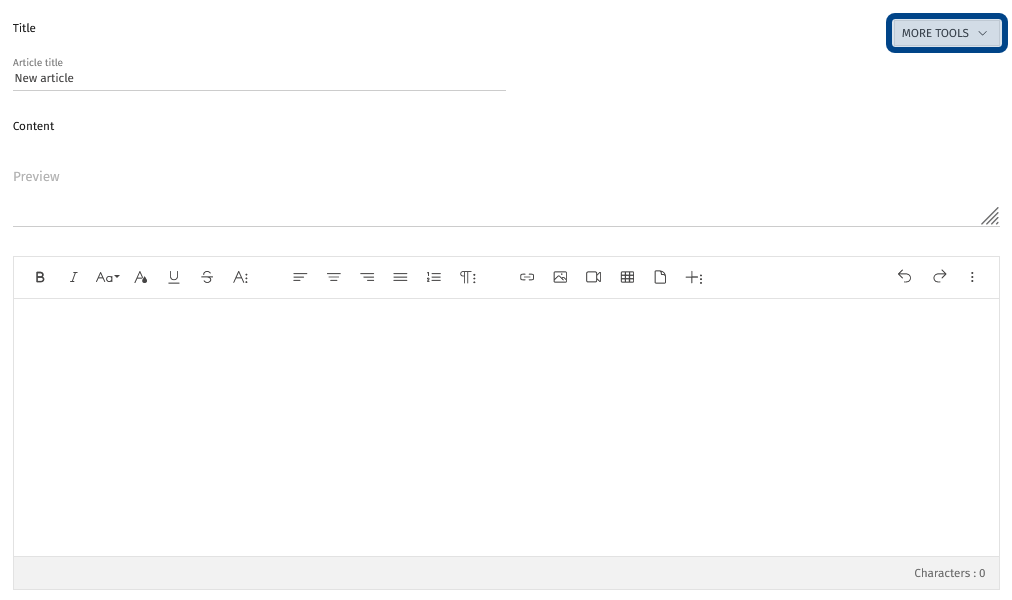
The “More tools” button is highlighted above in dark blue.
Clicking “Add form” will bring up a new field between the article’s title and preview. Copy the URL link to your form in the text field that appears.
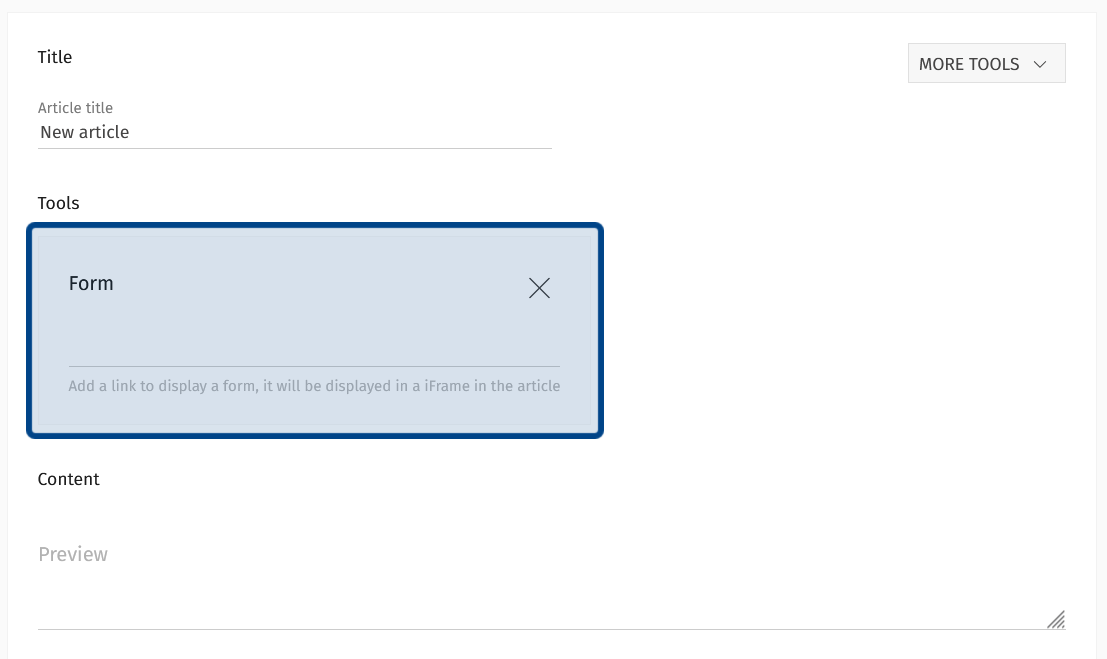
The section highlighted above in dark blue shows what the “Form” text field looks like on the article edit page.
This will add an HTML iframe (inline frame) into your article that will appear at the bottom of the article.
How do I publish a news article?
Once you’re happy with your content, it’s time to publish! You can publish immediately, or, if you’re ahead of the game, you can schedule the article to publish at a later date.
Not quite sure your article is ready? You can also save it as a draft!
You can find all publishing options in the header of an article’s edit page.
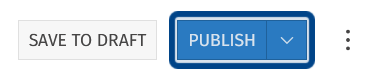
The “Publish” button as it appears in the edit page’s header is highlighted in dark blue.
Publish Immediately
You can publish an article immediately by clicking the “Publish” button. Click the button and you’re done!
Once an article is published, the header of the article’s edit page will have two additions: the date and time of publication underneath the article title and a link to the article on the front end on the right.

The publish date and time is highlighted in dark blue.
The link to the article on the front end is highlighted in light yellow.
If you need to schedule the article to publish later, click the down arrow next to “Publish.” This will give you the option to set a time to publish. For more on how to schedule an article, see below.
Schedule an article
You can schedule an article by clicking on the down arrow next to the “Publish” button near the top of the news article’s edit page.
This opens a window with two radio button options. Selecting “Set it live now” and clicking “Schedule” acts the same as clicking the “Publish” button.
Select “Schedule it for later” to set the article to go up at a specific future time.
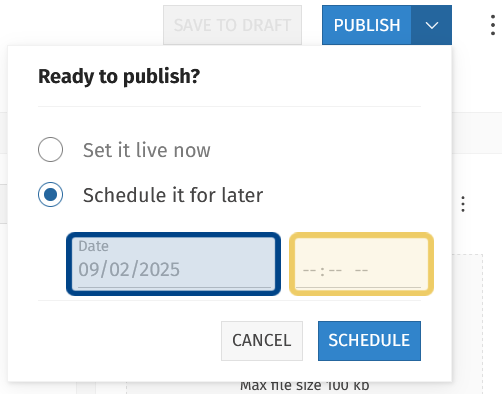
Clicking the arrow next to “Publish” opens the option to schedule an article.
The “Date” field is highlighted above in dark blue, the “Time” field in light yellow.
Below the option to “Schedule it for later” there is a date field and a time field. Click the “Date” field to open a date picker. Then, add a time in the field to the right with the format HH:MM AM/PM (e.g., 12:01 AM to post just after midnight).
After entering the date and time, click the “Schedule” button.
The article’s edit page will be updated. It will look like a published article, but the “Release date” will be set to a time in the future.
If you return to the “All News” page, the article’s status will read “Scheduled.”

A row in the news list with the status displayed as “Scheduled.”
If you need to change the scheduled time, unpublish the article. Then, reschedule it.
Save an article as a draft
You don’t need to finish a news article in one go! You can always save an article you’re working on as a draft and return to it later.
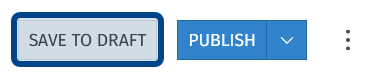
The “Save to Draft” button as it appears in an article’s edit page header is highlighted in dark blue.
Next to the “Publish” option, you will see a “Save to Draft” button. Click this button to save.
Any time you update the draft, make sure to click “Save to Draft” before leaving the article’s edit page.
Can I unpublish an article?
If an article is accidentally published early or contains information that is not current, you can remove it from the front end “News” page without deleting the article.
Take down an article by clicking the “Unpublish” button.

The “Unpublish” button is highlighted in dark blue.
Just like the “Publish” and “Save to Draft” buttons discussed earlier, “Unpublish” can be found in the header section of an article’s edit page. It is located next to the link to the article on the front end.
Once you click the “Unpublish” button, the article will be removed. But don’t worry if you unpublished in error! Simply hit “Publish” again to put the article back up.
How do I edit a news article?
You can edit a news article on its page in the back office. The page will look the same as when you created and published the article.
Make any edits you need in the text fields on the left or the options in the side bar on the right.
Once you’re happy with your changes, just hit “Update” in the top right! The “Update” button replaces the “Publish” button used when the article was first created.
Note: If you update a published article, the edits will appear as soon as you update. For a scheduled or drafted article, the edited version will appear when the article is published.
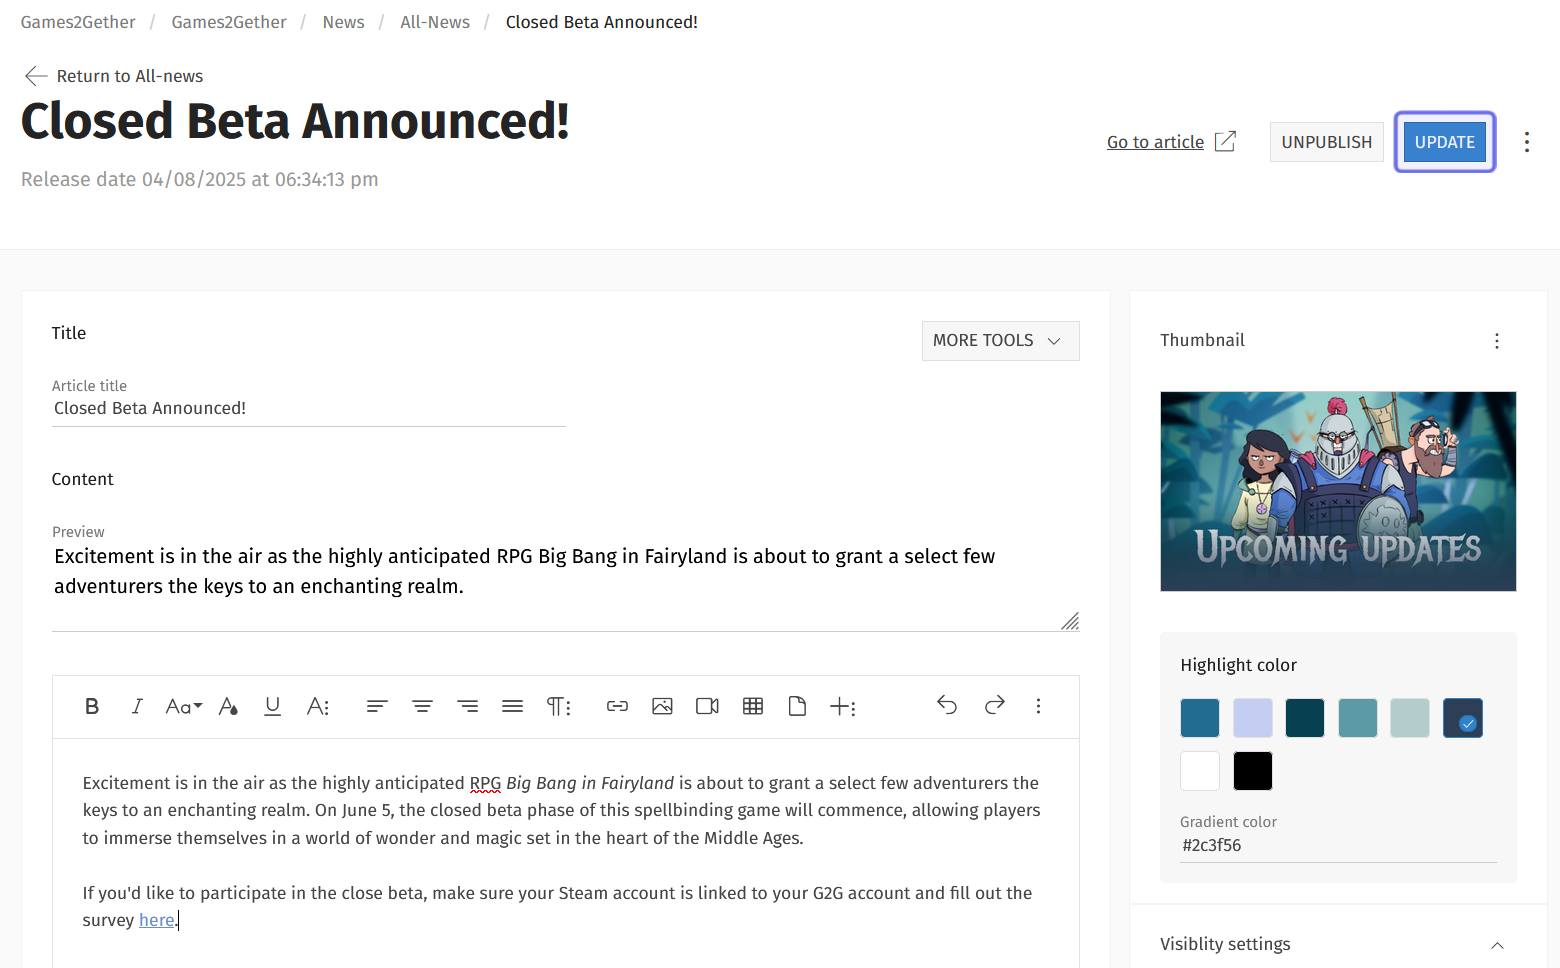
A published news article’s page in the back office is shown above.
The “Update” button is outlined in purple.
How do I delete a news article?
If you need to delete a news article, you can also find that option on the news article’s page in the back office.
Note: If you want to take an article down from the front end, but don’t want to lose the content, you can unpublish it instead.
Click the three horizontal dots next to the “Update” button. The button will be greyed out, unless you modified any fields on the page immediately before trying to delete.

The three dots in a news article page’s header are outlined in purple.
A “Delete” button will drop down. Click the “Delete” button.
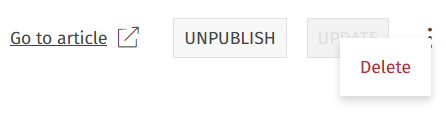
The “Delete” button is shown above.
A window will pop up in the middle of the page asking you to confirm that you want to delete the article. Once an article is deleted, you will no longer be able to access the content on the front end or in the back office.
Click “Delete” to delete the article. If you have changed your mind, click the “Cancel” button instead.
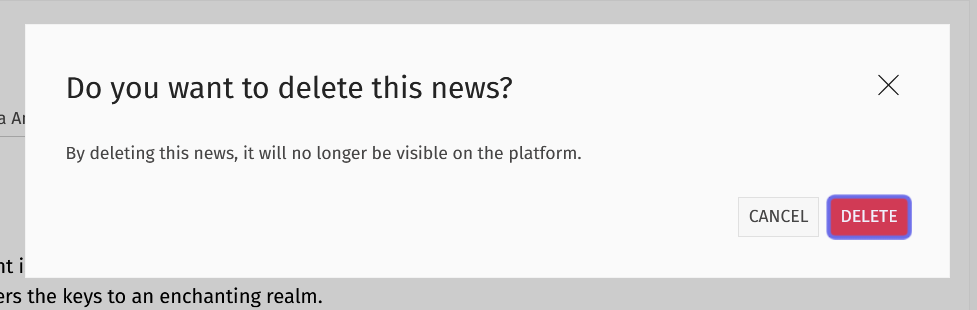
The window that pops up to confirm an article’s deletion is shown above.
The “Delete” button is outlined in purple.