
How to create a new title ?
Who can create a new title?
Users with a Restriction Level of Admin or Dev can create titles.
Where can I create new titles?
To create a new title, first navigate to the back office. Then select “Titles” from the “Gamification” section. This will take you to the back office “Titles” page with a list of all existing titles.
On the right-hand side of the page header is a button labeled “Add Title.” Click this button to open a “Create Title” side panel.

The “Titles” page header is shown above with the “Add Title” button highlighted in purple.
How do I create a new title?
At the top of the “Create Title” side panel is a text field labeled “Name.” Enter the title here. What you enter here is the word or phrase that users will be able to select on the front end. A title is usually one word, but can be composed of multiple words.
Beneath the “Name” field is the “Description” field. You can also enter a short description that can be referenced in the back office.
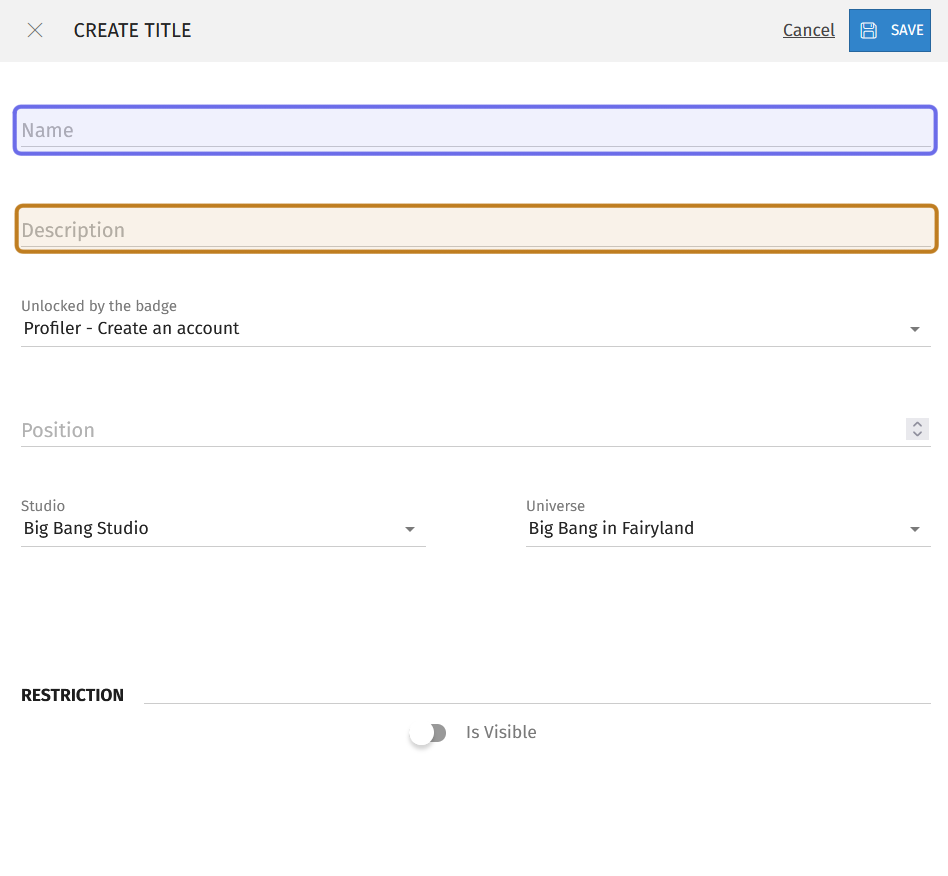
The “Create Title” side panel is shown here with the “Name” field highlighted in purple and the “Description” field highlighted in yellow.
A title must be attached to a badge quest. To link a badge quest, click the dropdown labeled “Unlocked by the badge.”

In the “Create Title” side panel above, the “Unlocked by the badge” dropdown is highlighted in purple.
The dropdown will display all of the Studio’s badges. Click on a badge name to display all of that badge’s available quests. Then select the desired badge quest.
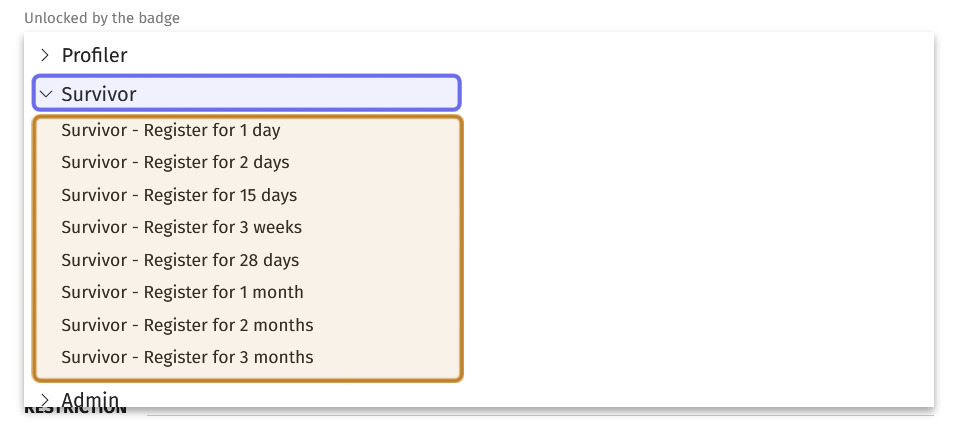
A badge name is highlighted in purple above with the associated badge quests highlighted in yellow.
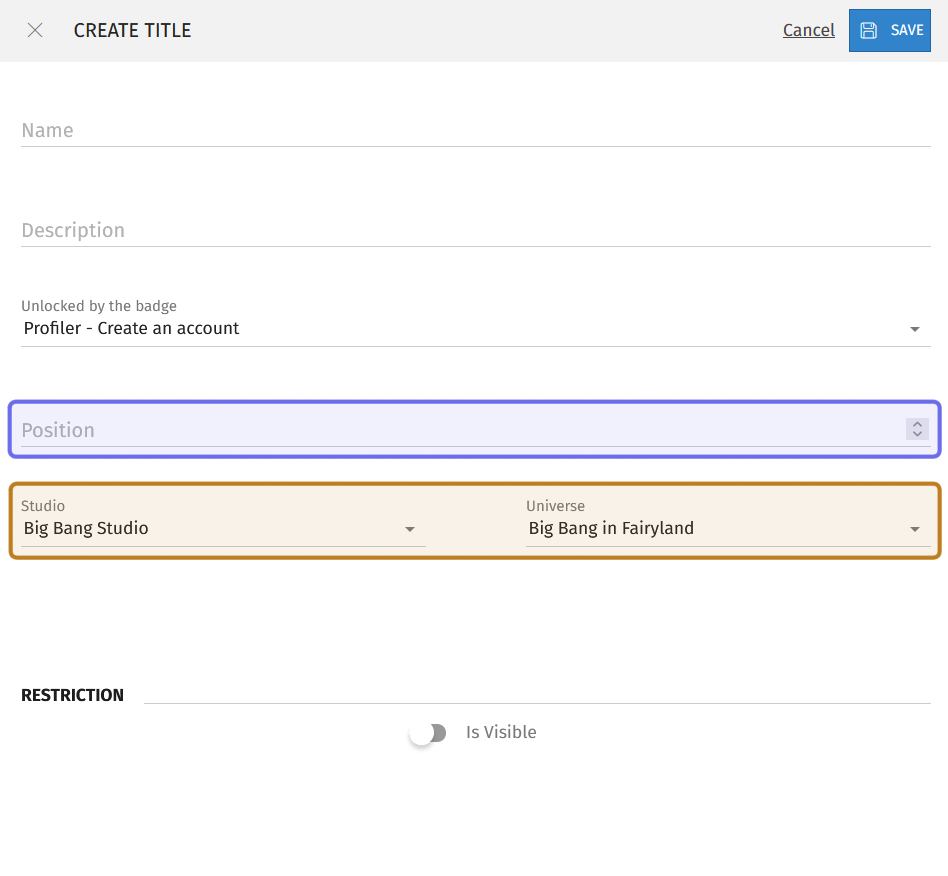
Once you’ve linked the title to a badge, you can select where the title will appear on the “Rewards” section of a user’s profile. Under “Titles” in the sub-menu, there is a grid of unlocked and visible titles. By default, the titles will appear in ascending horizontal order based on the number you enter into the “Position” field.
Below the “Position” field is a “Studio” dropdown and “Universe” dropdown. Use these to select which Studio and Universe the title is attached to.
At the bottom of the “Create Title” side panel is a toggle next to the text “Is Visible.” By default, this is toggled off and the title will not be visible on the front end before it is unlocked.
Click to toggle on. When this is toggled on, the title is visible to users on the front end, along with the badge quest it is connected to.
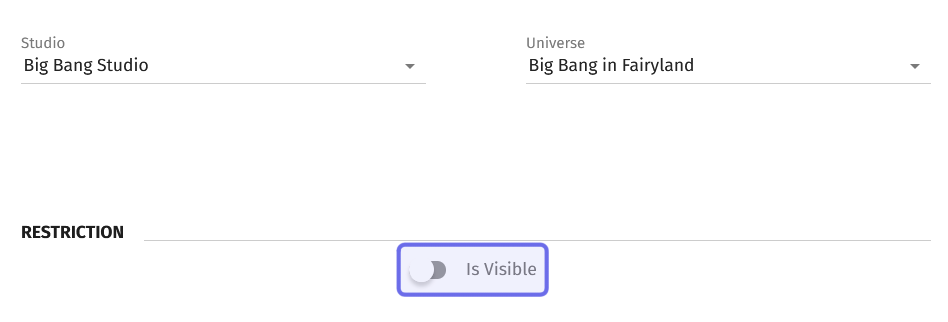
The bottom half of the “Create Title” side panel is shown above with the “Is Visible” toggle highlighted in purple. It is toggled off in this screenshot.
When “Is Visible” is toggled on, a second toggle will appear labeled “Is Hidden.” If you toggle “Is Hidden” on, Members will not be able to see the title before it is unlocked, but they will be able to see that there is a title to earn!

This is a title as seen on the Member front-end view. It has both the “Is Visible” and “Is Hidden” toggle on in the back office.
A visible title is always displayed to Devs and Admins, even if it is also hidden. The below chart outlines the possible front-end views:
“Is Visible” | “Is Hidden” | Admin/Dev View | Member View |
OFF | OFF | Not visible on front end, unless unlocked | Not visible on front end, unless unlocked |
ON | OFF | Visible on front end | Visible on front end |
ON | ON | Visible on front end | Obscured on front end, |
Once you’ve filled out the “Create Title” side panel, you’re ready to save! The “Save” button is located in the top right of the panel. Click “Save” to add the new title.
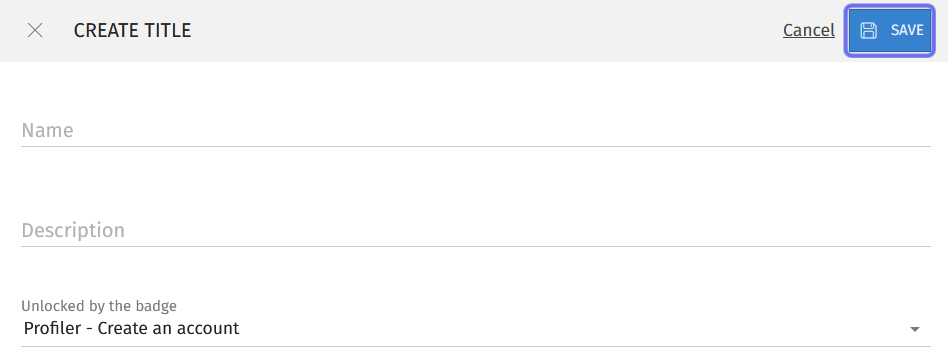
The top half of the “Create Title” side panel is shown above. The “Save” button is highlighted in purple.