
How to manage categories in the bugs feature ?
Who can manage categories in the “Bugs” feature?
Users with a Restriction Level of Dev or Admin can add, edit, and delete categories in the “Bugs” feature.
Where can I manage the “Bugs” feature categories?
To manage the “Bugs” feature categories, first locate the “Bugs” feature for the relevant Universe in the back office. Then, click “Bugs” in the Universe dropdown. This will take you to the “Bugs” dashboard.
In the “Bugs” dashboard page header, there is a “Settings” button. You can find it on the right-hand side. Click the “Settings” button.
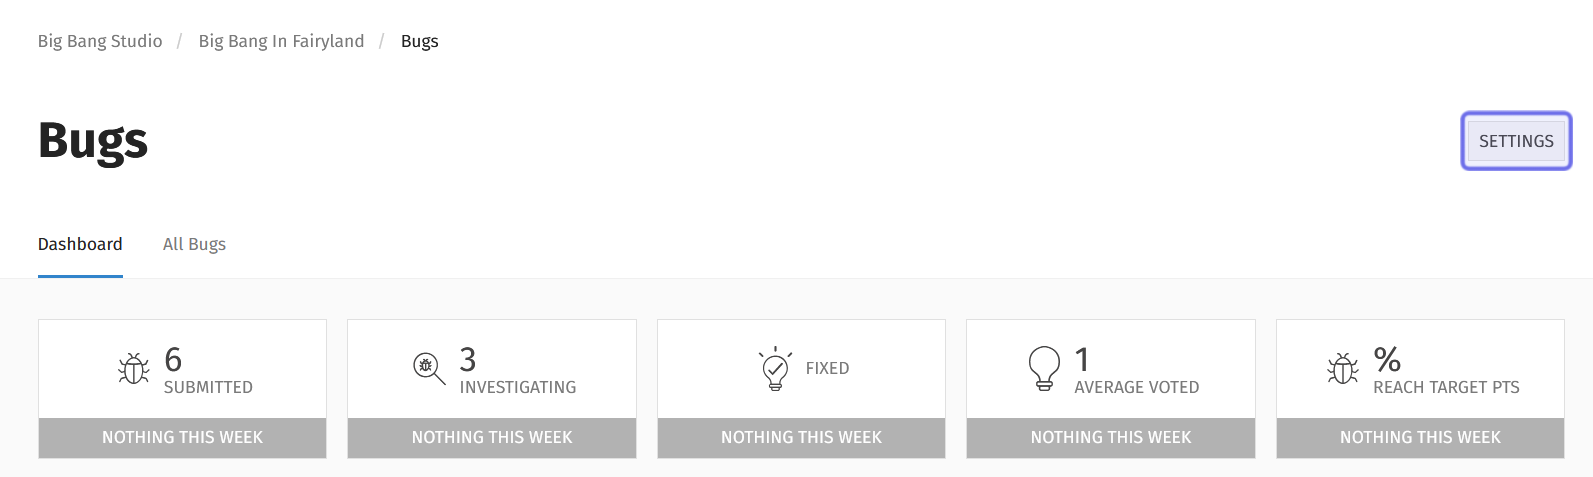
The “Settings” button is shown highlighted in purple.
How do I add a new category to the “Bugs” feature?
The “Settings” button will take you to the settings for the “Bugs” feature. The page has a series of tabs.
To add, edit, or delete the categories and subcategories displayed for users in the front-end “Bugs” feature, select the “Configuration” tab.
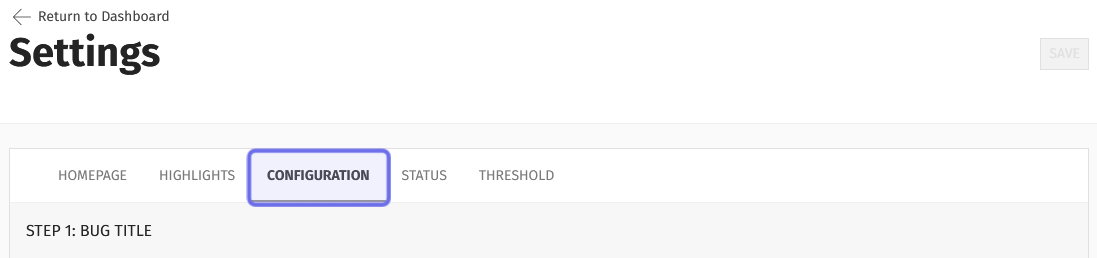
The tabs on the “Settings” page are shown above. The “Configuration” tab is highlighted in purple.
Scroll down to “Step 2: Category and Subcategory.” This section has three rows. The first two are text fields used to modify the bug report flow. The third row is labeled “Manage categories.”
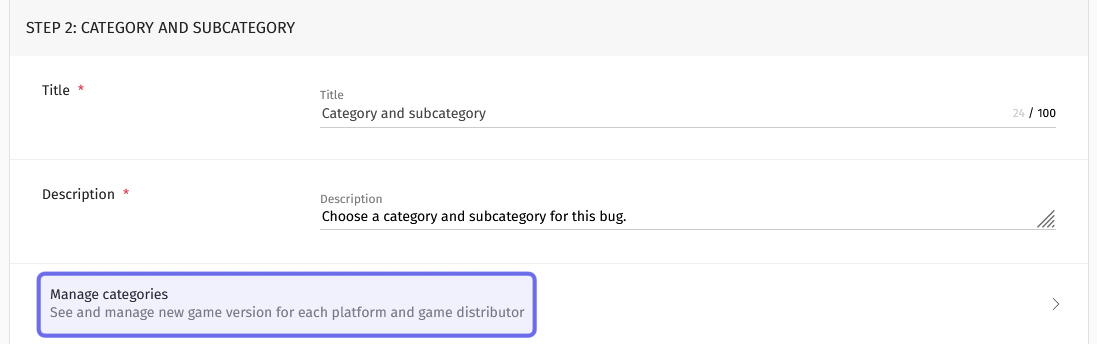
Clicking “Manage categories,” highlighted above in purple, takes you to the “Manage Categories” page.
Click on “Manage categories.” This will open the “Manage Categories” page.
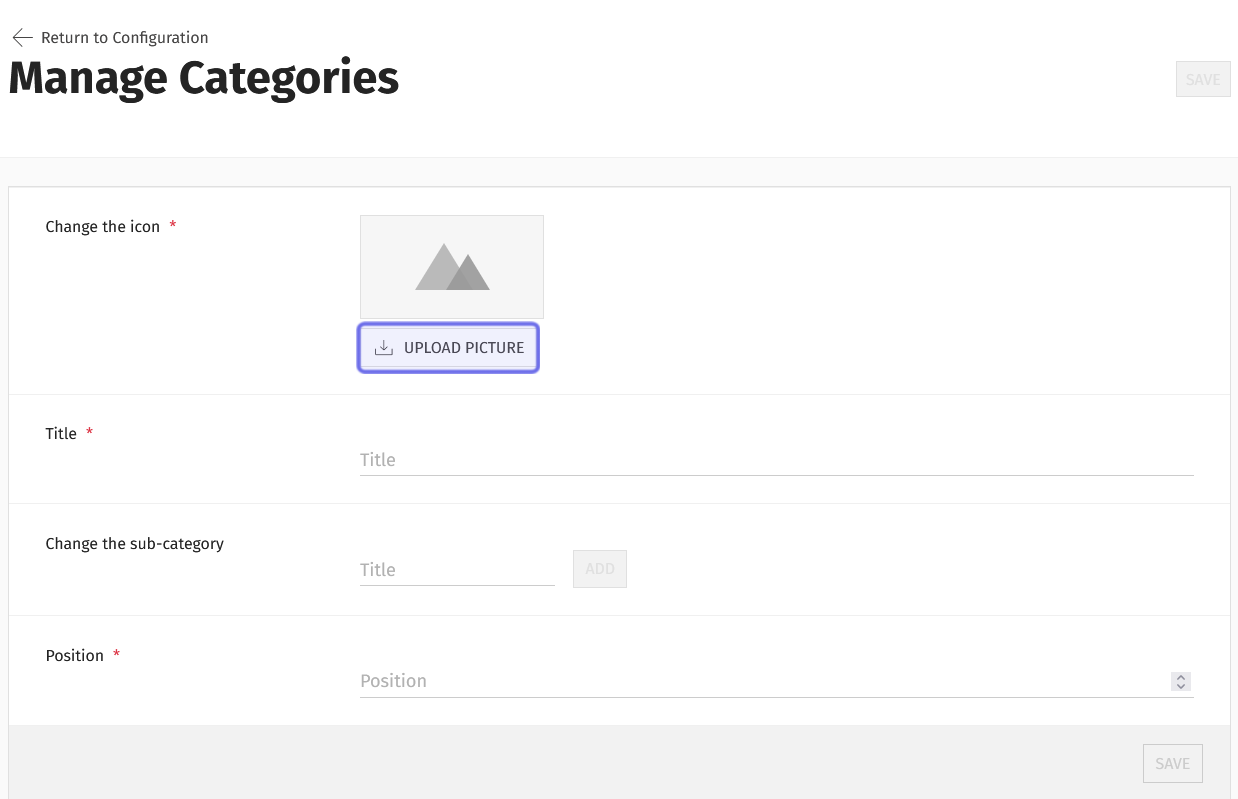
The “Manage Categories” page is shown above. The “Upload Picture” button is highlighted in purple.
Every category must have an icon. Click the “Upload Picture” button to browse and upload an image. The image must be an .svg file.
Next, fill in the text field labeled “Title.” This is the category name that users will see on the front end when submitting a bug report.
A category must have at least one subcategory. You can add subcategories in the row labeled “Change the subcategory.”
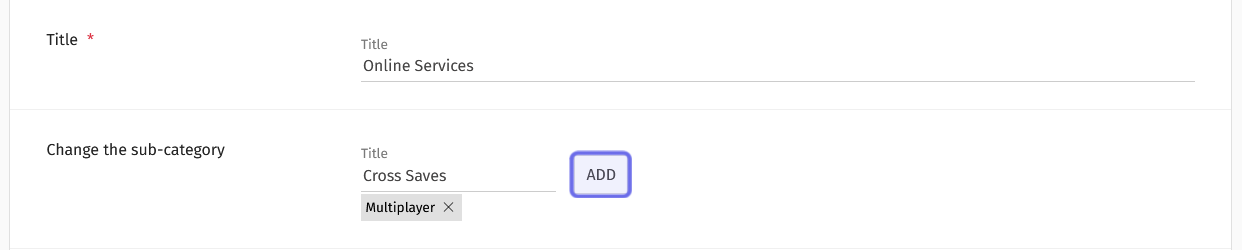
The “Add” button in the row labeled “Change the subcategory” is highlighted in purple.
Enter the subcategory name into the short text field. Then, click the “Add” button to the right.
To add more subcategories, repeat the process. The subcategories will appear beneath the short text field as they are added.
The last field is labeled “Position” and requires an integer. The number entered in this field determines the order categories are displayed in on the front end.
Enter the desired integer by typing into the field. You can also use the vertical arrows on the left to move up and down by increments of 1.
On the front end, categories will be arranged in ascending order from left to right.
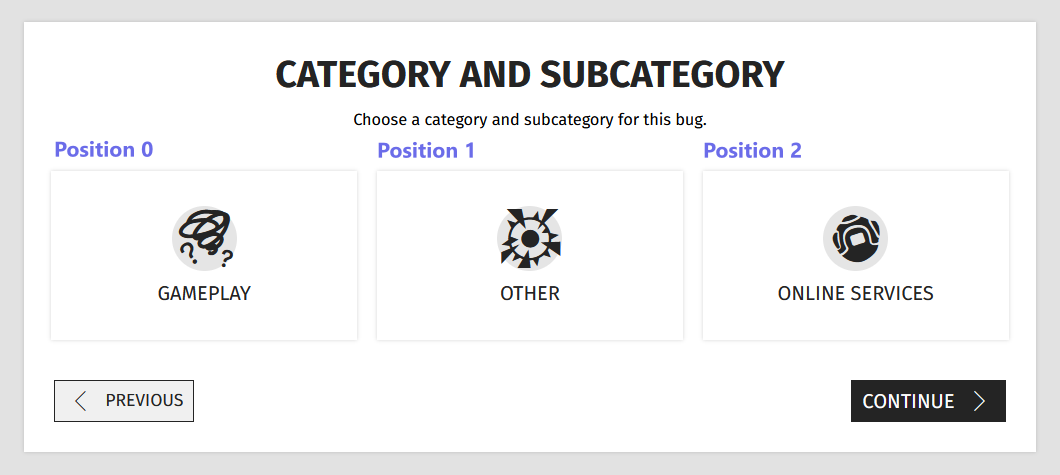
An example of the categories list on the front end. Each category’s position is listed.
Once you have filled out all of the fields, save your entry by clicking on one of the “Save” buttons.
You can find one save button below the “Position” field on the right-hand side. There is another “Save” button at the top of the page, to the right of the “Manage Categories” title.
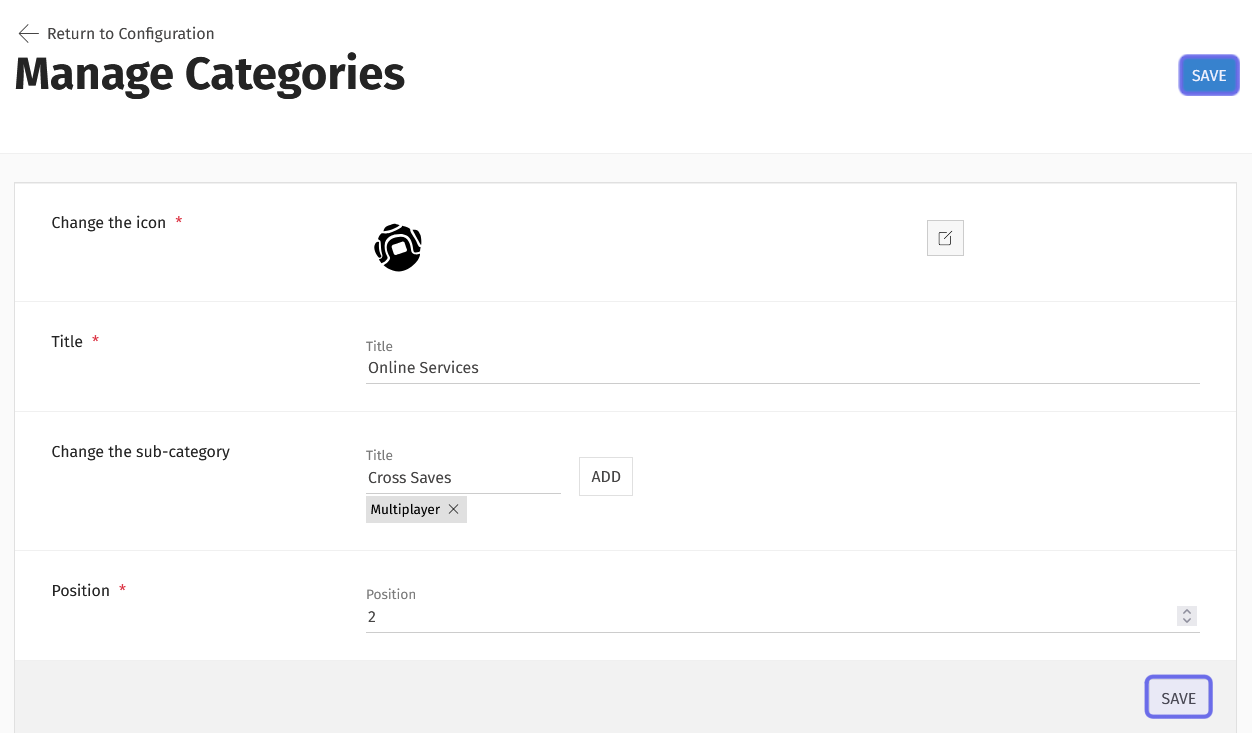
The two “Save” buttons on the “Manage Categories” page are highlighted above in purple.
Once the category is saved, it will be added to the list of categories at the bottom of the “Manage Categories” page and be available for users to select from on the front end.
How do I add a subcategory to the “Bugs” feature?
You can add a subcategory to an existing category by editing the category. Follow the steps to update a category here.
How do I update a “Bugs” category?
To update a category, scroll to the list of categories at the bottom of the “Manage Categories” page.
Find the category you want to edit. By default the categories are organized in ascending position. You can click on any column header to re-sort the list.
Once you find the category, look on the right-hand side of the category’s row. There are two icons: a square with a line through it and a trash can. The square with a line through it is the “Edit” button.

A category in the list of categories is shown above. The “Edit” button is highlighted in purple.
Click the “Edit” button. This will re-open the category.
You can then edit any field, including changing the icon and adding or deleting subcategories.
Once you have made your changes, click the “Update” button to confirm.
The “Update” buttons replace the “Save” buttons used when creating a new category. One is located below the “Position” field on the right. The other is at the top of the page to the right of the “Manage Categories” page title.
How do I delete a category or subcategory in the “Bugs” feature?
Deleting a category
If you need to delete a category, scroll down to the list of categories at the bottom of the “Manage Categories” page.
Locate the category you want to delete. By default, the list is sorted in ascending order by position, but you can click on any column header to re-sort the list.
Once you have found the category you want to delete, look on the right-hand side of that category’s row. There are two icons: the “Edit” button and a trash can. The trash can is the “Delete” button.

A category in the list of categories is shown above. The “Delete” button is highlighted in purple.
Click the “Delete” button. A window will pop-up asking you to confirm that you want to delete the category. Click “Delete” again to confirm.
Note: If there is any bug report tagged with the category you are trying to delete, you will receive an error message and will not be able to delete that category.
The category and all its subcategories will be removed from the category list in the back office and from the categories available for users to select from on the front end.
Deleting a subcategory
You can delete a single subcategory by updating a category.
Once you are editing the category, look for the row labeled “Change the subcategory.” All current subcategories are in the style of tags and located below the short text field.
Click the “X” to the right of the subcategory name to delete it.
Note: If there is any bug report tagged with the subcategory you are trying to delete, you will receive an error message and will not be able to delete that subcategory.
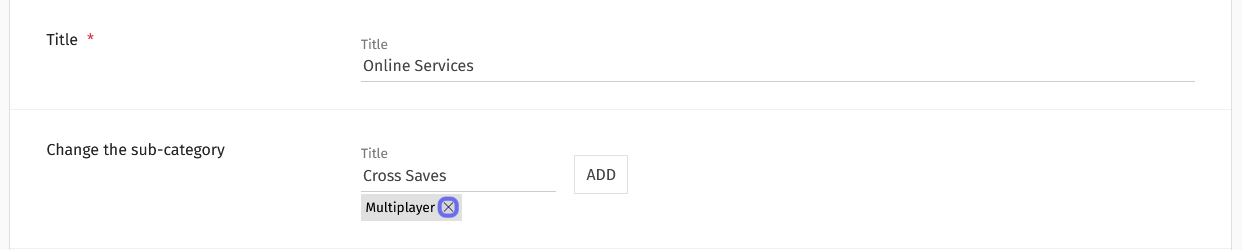
The subcategory “Multiplayer” is shown in the screenshot above. The “X” to delete the subcategory is highlighted in purple.
Make sure to click one of the two “Update” buttons to save the change.