
How to modify the bug report flow ?
What is the “bug report flow?”
The bug report flow describes how a user progresses through the bug reporting process in the “Bugs” feature on the front end. Studios can customize sections, what information is available, and which fields can be skipped.
Who can modify the bug report flow?
Devs and Admins can modify the bug report flow.
Where can I modify the bug report flow?
The bug report flow can be customized in the back office. First, locate the “Bugs” feature for the relevant Universe. Then, click “Bugs” in the Universe dropdown. This will take you to the “Bugs” dashboard.
In the “Bugs” dashboard page header, there is a “Settings” button. You can find it on the right-hand side. Click the “Settings” button.
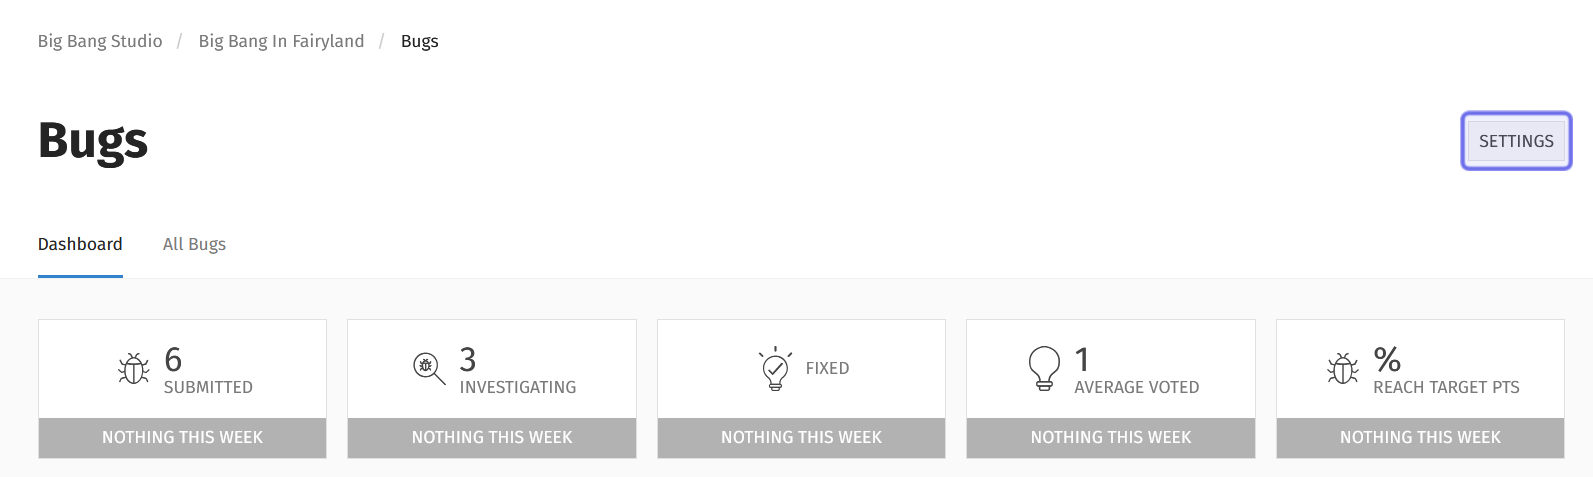
The “Settings” button is shown highlighted in purple.
How do I modify the bug report flow?
The “Settings” button will take you to the settings for the “Bugs” feature. Here you can make all sorts of changes to how the “Bugs” feature operates on the front end. Different options can be accessed via the tabs beneath the page header.
To modify the bug report flow, select “Configuration.” You will see seven sections that align to the sections that a user sees when creating a bug report on the front end.
Step 1: Bug Title
The top section under the “Configuration” tab is “Bug Title.” On the front end, this is the first step of the bug report process.
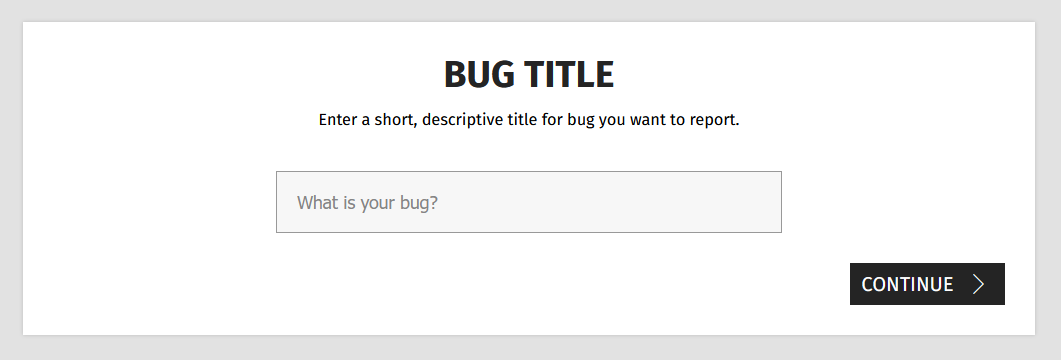
The “Bug Title” step as seen on the front end.
There are two fields to configure.
Write the section title you want displayed on the front end in the “Title” text field. It cannot exceed 100 characters.
Put a short instruction for users in the “Description” text field.
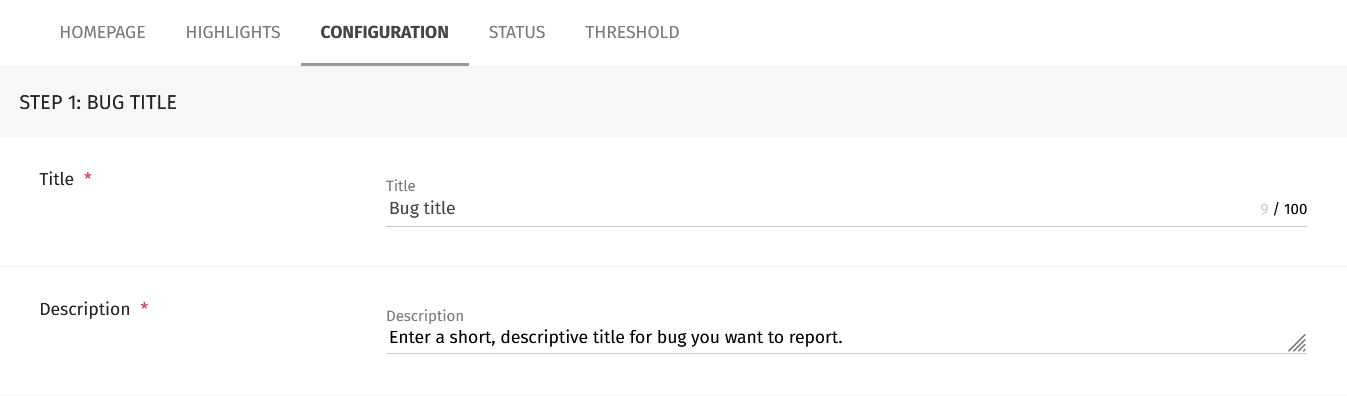
The “Step 1: Bug Title” fields as seen in the back office.
Scroll down to the next section to continue configuring the bug report flow.
Step 2: Category and Subcategory
The next section is “Category and Subcategory.” On the front end, users will see a series of buttons representing each category. Once a specific category is selected, its subcategories will be displayed.
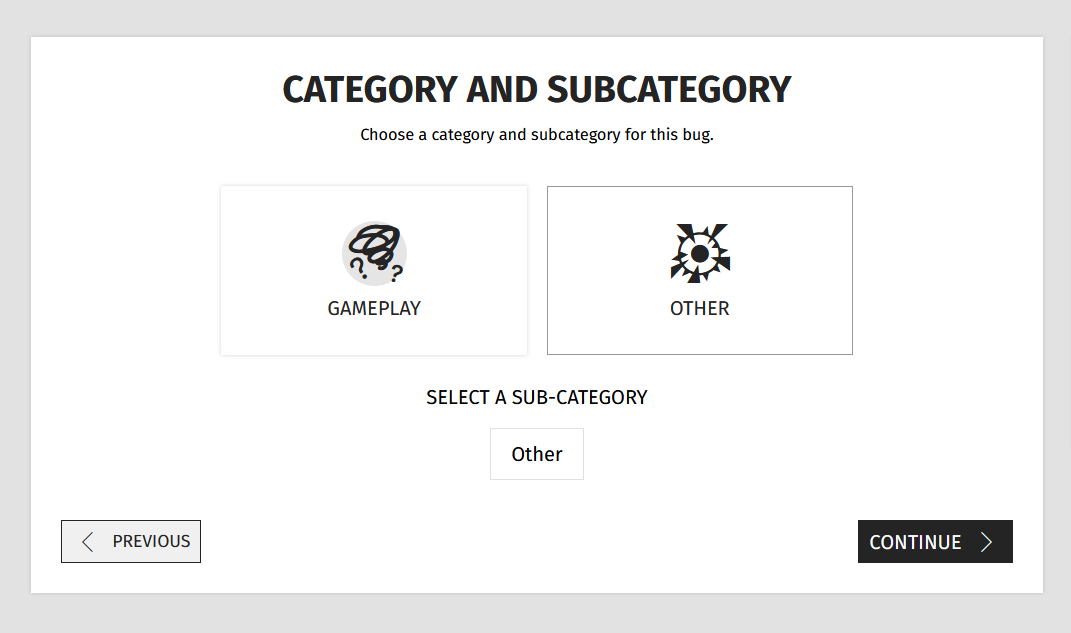
A selected category and its subcategory as seen on the front end.
This section has two fields.
Write the section title that will be displayed to users in the “Title” text field. You are limited to 100 characters.
Type a short instruction for users in the “Description” text field.
You can also manage the categories and subcategories in this section. Click on “Manage categories” to add, edit, or delete categories and subcategories.
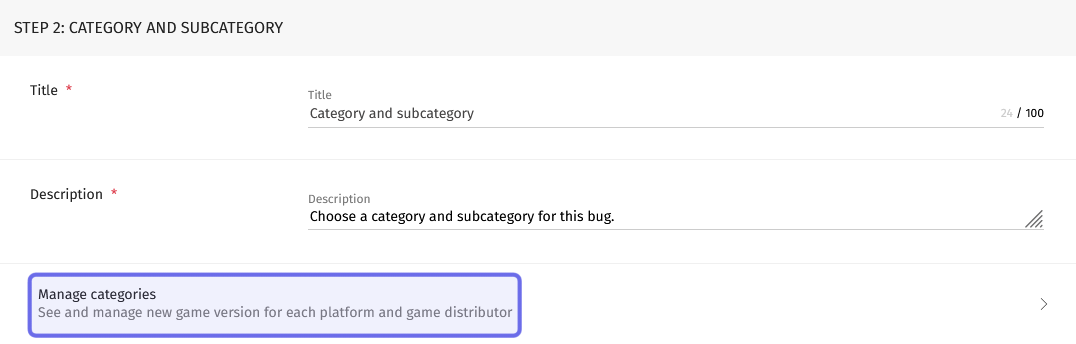
The “Step 2: Category and Subcategory” fields in the back office are shown above. “Manage categories” is highlighted in purple.
Scroll down to continue modifying the bug report flow.
Step 3: Basic Information
The next section is “Basic Information.” On the front end, users will be able to enter two key pieces of information in this step: game version and a short description of the bug.
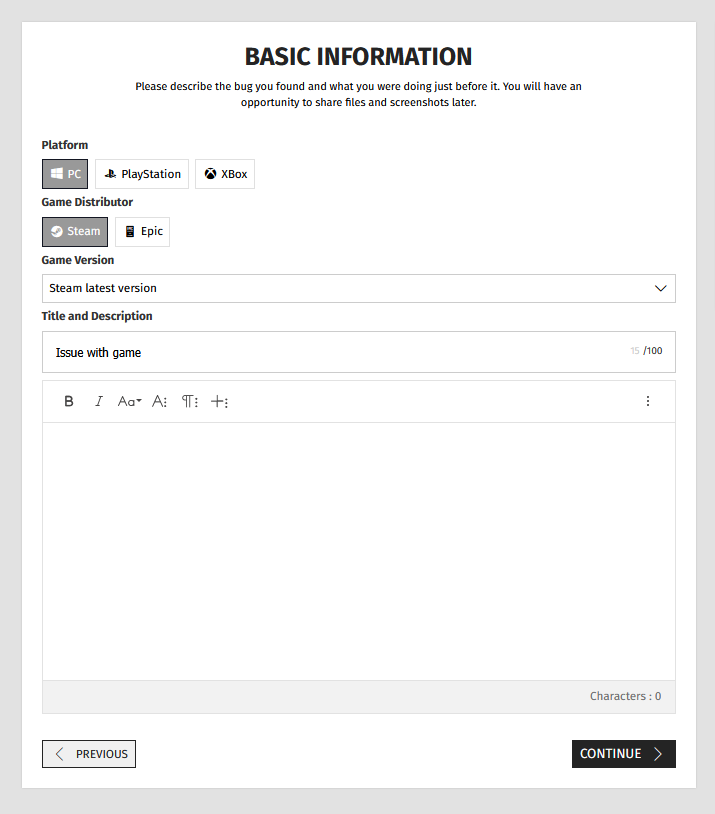
The “Basic Information” step as seen on the front end.
As with previous steps, there are two fields.
Write the name for this step in the “Title” text field. You are limited to 100 characters.
In the “Description” field, enter a short instruction for users. Keep in mind that this step has two required pieces of information.
You can also manage game versions. Click on “Manage game versions” to update the platforms, distributors, and game versions users will be able to select from when reporting a bug.
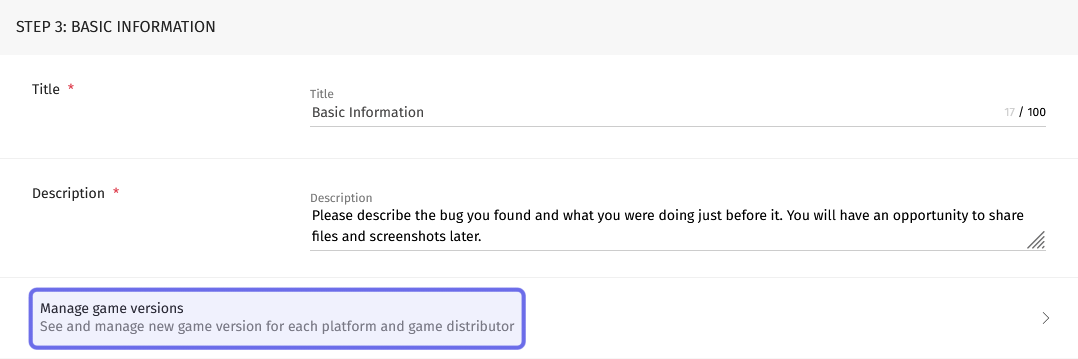
The “Step 3: Basic Information” step as seen in the back office is shown above. “Manage game versions” is highlighted in purple.
Scroll down to configure the next section in the bug report flow.
Step 4: Step by Step
“Step by Step” is the first section that you can make optional when users report a bug. If it is displayed, users will be able to add a series of short instructions on how to reproduce the bug.
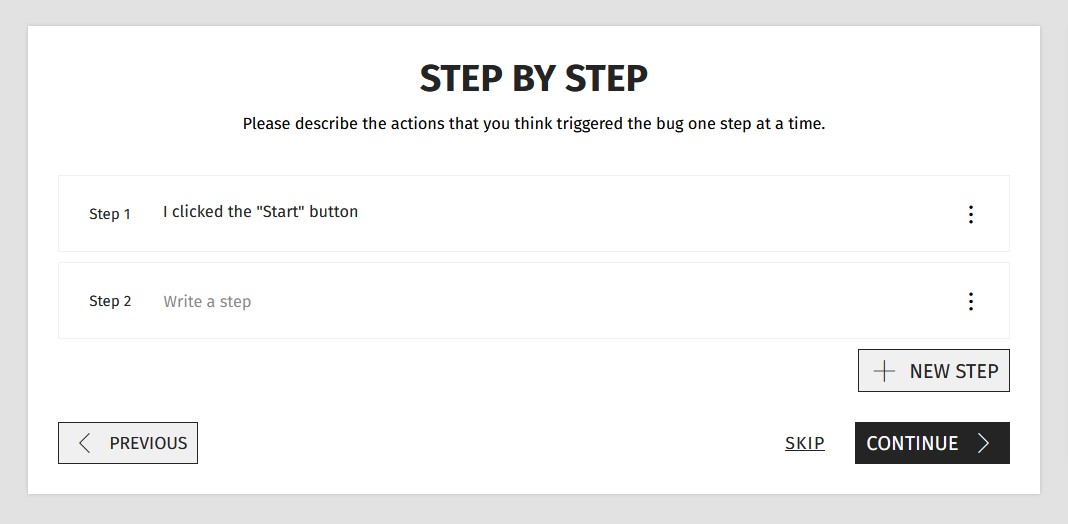
The “Step by Step” step as seen on the front end.
The top of this section has two toggles that you can use to determine the requirements for this section on the front end.
Click to turn a toggle on or off. A toggle is on when it is blue and set to the right. It is off when it is greyed out and set to the left.
The “Is Display” toggle indicates whether users will see this step on the front end. If it is toggled on, users will be able to use the “step by step” format to share the actions that triggered the bug. If it is toggled off, this section will not be included in the bug report flow.
The “Is Skippable” toggle indicates whether or not the “Step by Step” section is mandatory for users. If it is toggled on, users will have to enter at least one step to submit the bug report. If it is toggled off, users will be able to click “Skip” and submit a bug report without a step by step process included.
Note: If you opt not to display this section, consider specifying what pieces of information you want users to provide in the “Description” field of Step 3.
You can also change the title for this step displayed on the front end. Enter the title in the “Title” text field.
Type a short instruction for the section in the “Description” field.
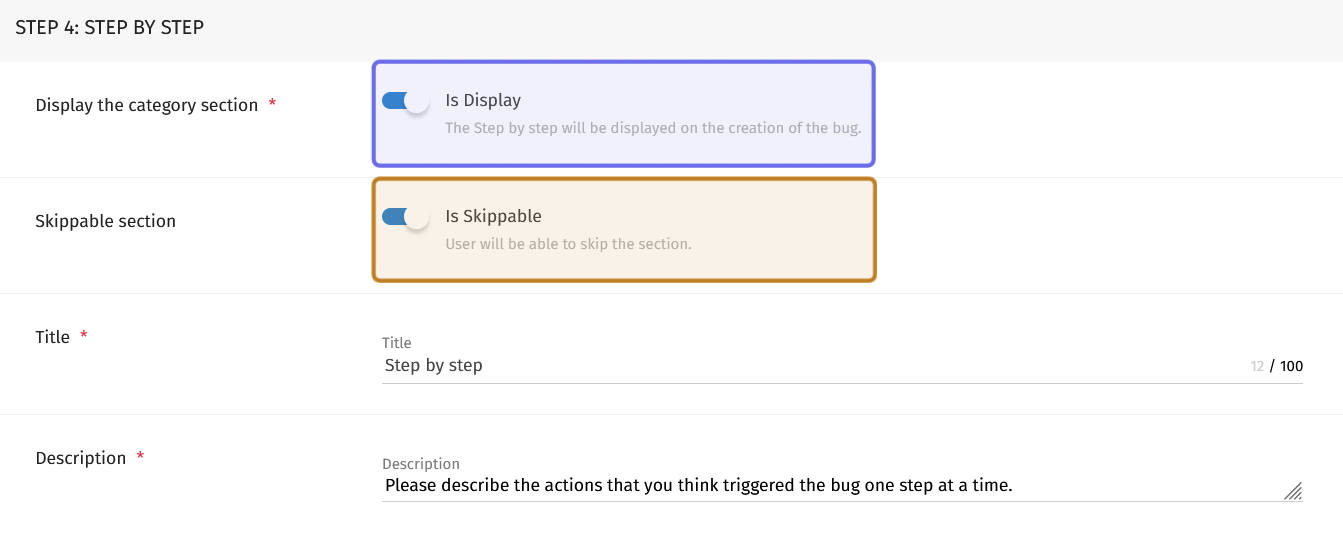
“Step 4: Step by Step” in the back office is shown above. The “Is Display” toggle is on and highlighted in purple. The “Is Skippable” toggle is on and highlighted in yellow.
Scroll down further to modify the bug report flow.
Step 5: File Upload
You have the option to allow or require users to upload accompanying files when they make a bug report. If this section is displayed, users will be able to upload logs or save files.
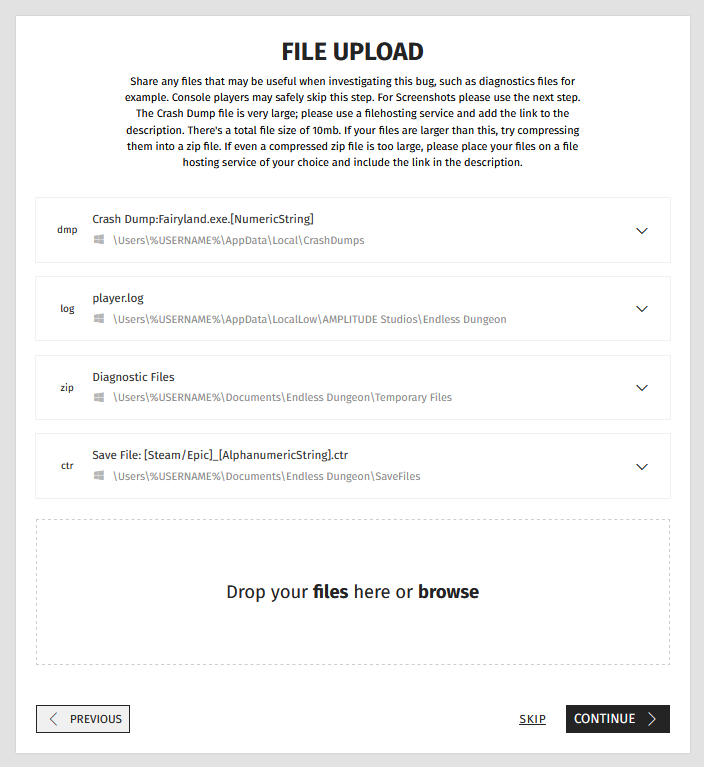
The “File Upload” step as seen on the front end is shown above.
The “File Upload” step has two toggles in the back office: “Is Display” and “Is Skippable.”
If “Is Display” is toggled on, users will see the “File Upload” step on the front end. If it is toggled off, this section will not be included in the bug report flow.
Note: If you only want users to upload screenshots, turn off the “Is Display” toggle on the “File Upload” step.
If “Is Skippable” is toggled on, users will be able to publish the bug report without including a save file or any additional logs.
There are also the standard text fields in this section: “Title” and “Description.”
Enter a step header in the “Title” text field. It cannot exceed 100 characters.
Note: These files may not be familiar to all users and may exceed the 10MB upload limit. We recommend the “Description” field for this section include information on how to share a file if it is over 10MB.
Type instructions for users in the “Description” field.
You can also manage file types from this section. To add, edit, or delete a file type, click on “Manage file types.”
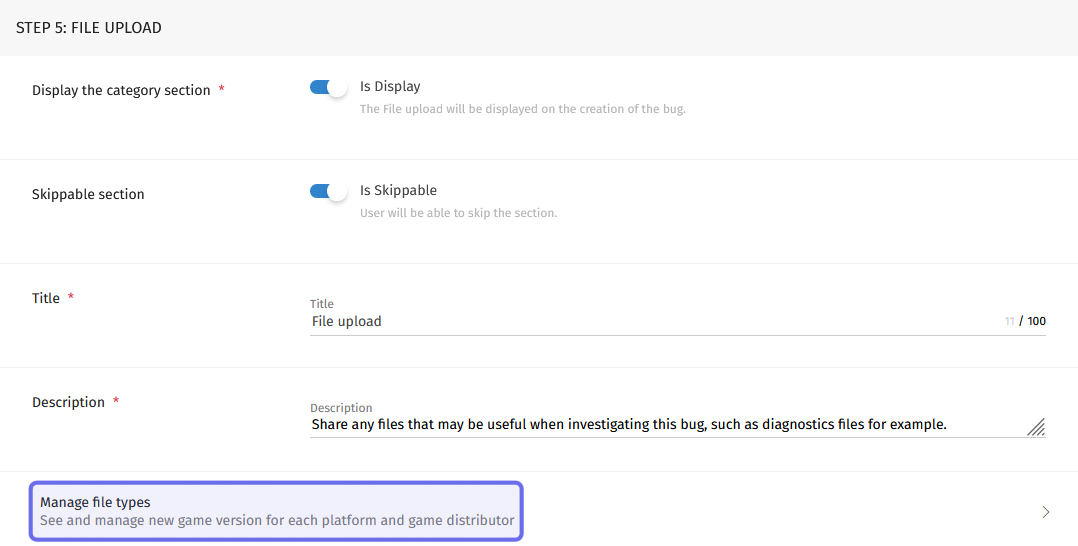
“Step 5: File Upload” as seen in the back office is shown above. “Manage file types” is highlighted in purple.
Scroll down to configure the section where users can upload screenshots.
Step 6: Screenshot Upload
If the “Screenshot Upload” section is displayed, users will have the chance to upload up to ten screenshots to help demonstrate the error they are reporting. You have the option to not include this section or to make it mandatory.
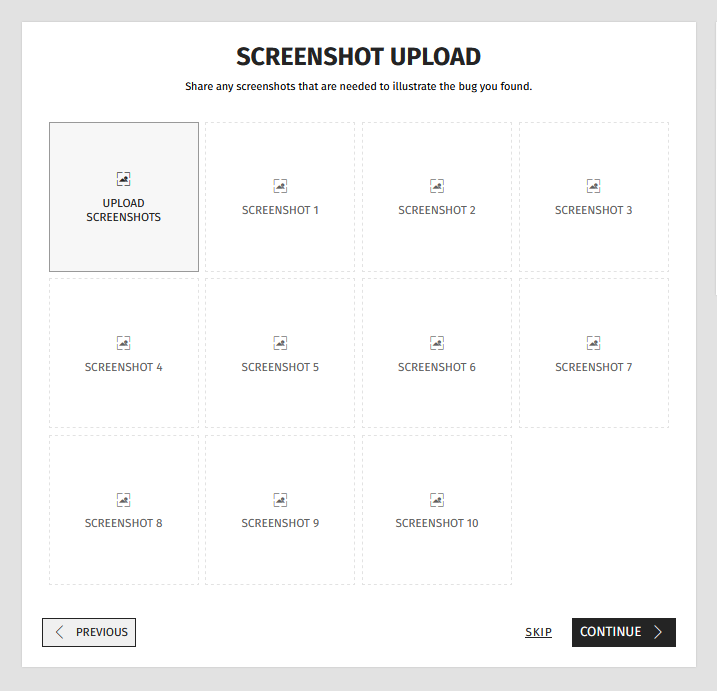
The option to upload screenshots users may see on the front end is shown here.
There are two toggles at the top of this section in the back office. Click to turn a toggle on or off. A toggle is on when it is blue and set to the right. It is off when it is greyed out and set to the left.
The “Is Display” toggle indicates whether the section should be shown on the front end. If it is toggled on, users will be able to upload screenshots. If it is toggled off, this section will not be shown when a user reports a bug.
The “Is Skippable” toggle indicates whether or not uploading screenshots is mandatory for users. If it is toggled on, users will have to enter at least one screenshot before they can submit the bug report. If it is toggled off, users will be able to click “Skip” and submit a bug report without any screenshots included.
As with previous steps, you can also provide a heading using the “Title” field and include a short instruction using the “Description” field.
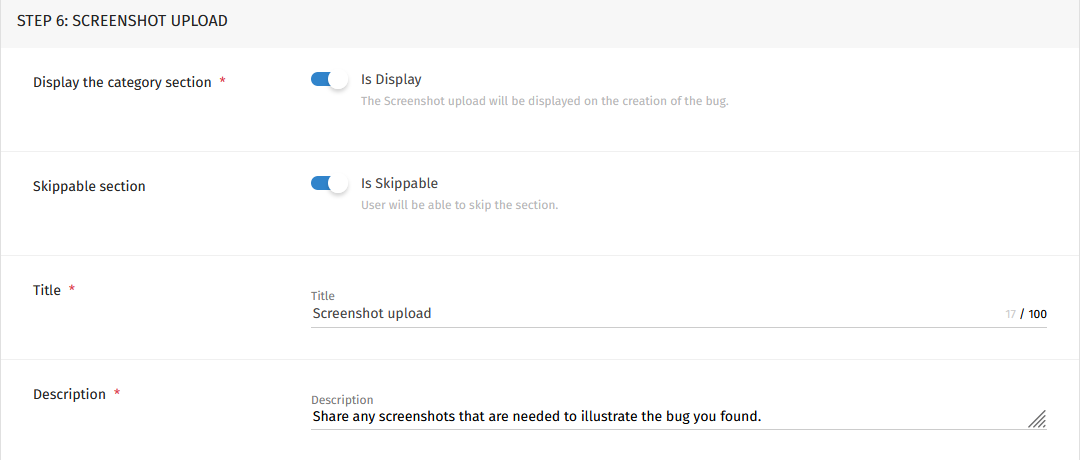
“Step 6: Screenshot Upload” as seen under the “Configuration” tab in the back office is shown above.
Scroll down to configure the last step before publishing.
Step 7: Resume Before Publishing
We recommend giving users the opportunity to review their bug report before publishing. If this section is displayed on the front end, users will have the chance to view and edit their submission before hitting “Publish.”
The “Is Display” toggle is at the top of this section. When toggled on, the “Resume Before Publishing” section will be shown to users on the front end when they create a bug report. If it is toggled off, users will only be able to use the “Previous” button to review earlier steps.
If this section is toggled on, you can give it a header by entering text into the “Title” field.
Then, type a short instruction into the “Description” field.

The “Save” button is located at the top of the “Settings” page. It is highlighted in purple above.
Once you have configured the bug report flow, make sure to save! You can find the “Save” button in the section header, to the right of the page title.