
How to modify a “Slick multiple item” content block
Who can add a new “Slick multiple item” block?
Devs and Admins can add a new content block in the CMS.
Where can I add a new “Slick multiple item” block?
You can add new blocks in the CMS. Find the CMS for the landing page and for Universes in the back office.
Once you are on the CMS page for the page you want to modify, you will see a graphical representation of the block layout on the left and a layout side panel on the right.
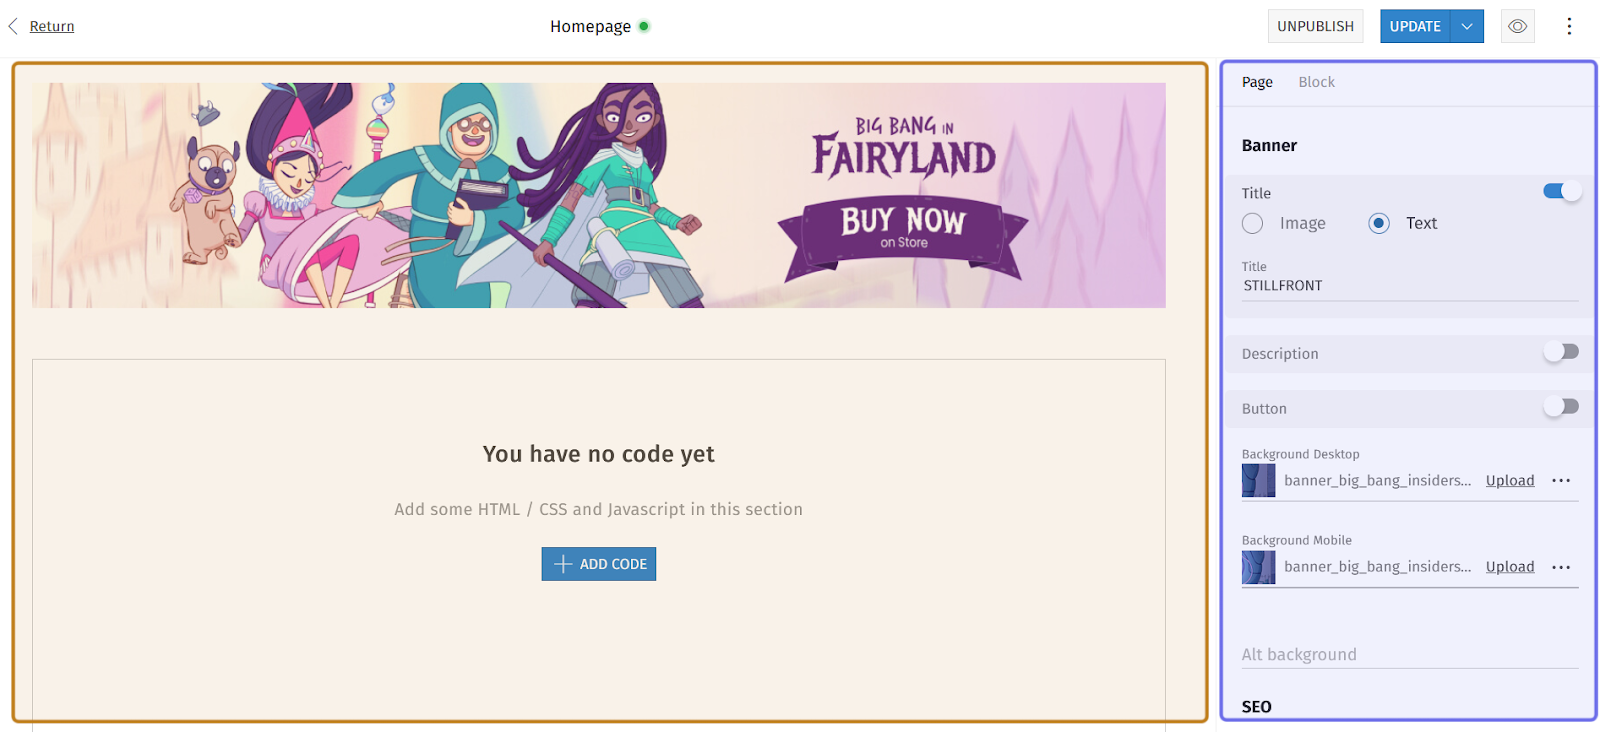
An example of the CMS is pictured above. The graphical layout is highlighted in yellow. The side panel is highlighted in purple.
How do I add a new “Slick multiple item” block?
To add a new panel to a page, click the “+” button. Hovering over any block in the graphical layout view on the left will bring up the button.
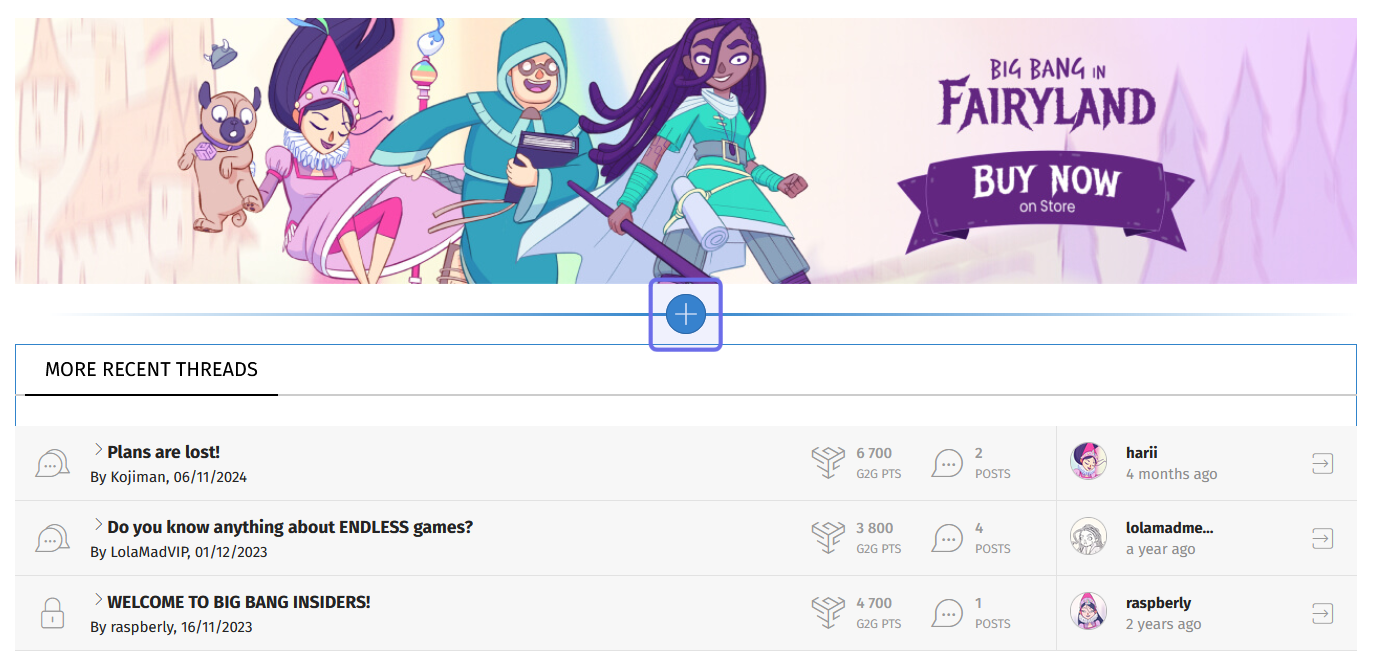
An example of the graphical layout of the CMS is above. The “+” button to add a new block is highlighted in purple.
Clicking the “+” button will open a menu. Select “Slick multiple item.” You can find the option either by scrolling through the list, or by using the search bar at the top of the menu.
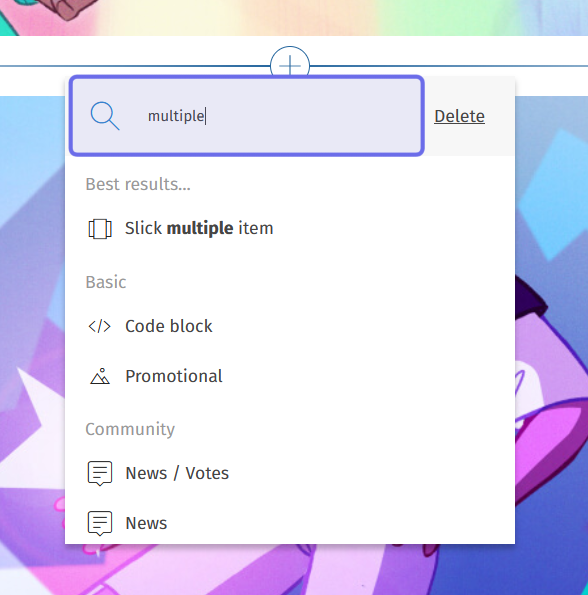
The search bar at the top of the “+” menu is shown highlighted in purple above. The results show a search for “multiple,” which brings the “Slick multiple item” option to the top of the list.
A new block will be added in the location of the “+” button when you select “Slick multiple item” from the menu.
Click the new block or select the “Block” tab from the side panel on the right to see the options for editing the block’s content.
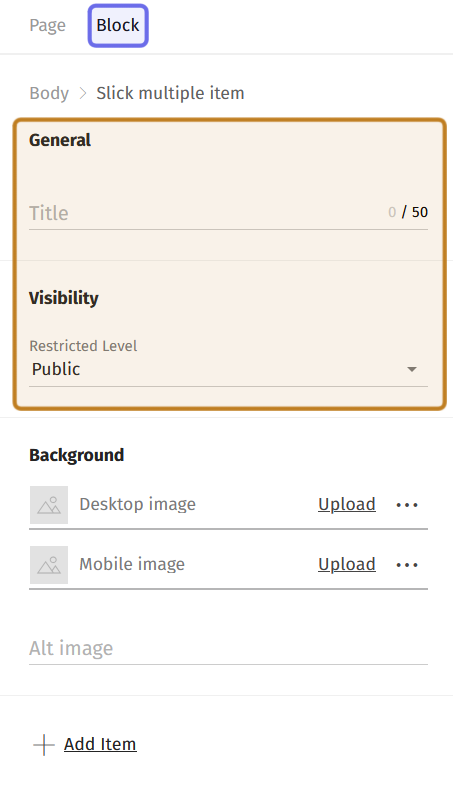
An example of the CMS side panel. The block’s fields are under the “Block” tab, highlighted here in purple. The top two fields - the “Title” text field and the “Restricted Level” dropdown - are highlighted in yellow.
At the top of the side panel is the “General” section. It has a single field: “Title.” Beneath it is the “Visibility” section with a single dropdown.
Give the block a centered title by typing in the “Title” text field. There is a 50 character limit.
Next, click the dropdown in the “Visibility” section to open a list of all Restriction Levels. Select an option from the list to determine which visitors will be able to see the block. Only visitors with the selected Restriction Level or above will be able to view the block. Leave the dropdown on the default of “Public” if you want all site visitors to be able to see the block.
Note: As you fill out the text fields, the block preview in the graphical layout will update.
In the “Background” section below “Visibility,” you can add a background to the “Slick multiple item” block. This background will be displayed beneath the items that you add to the block.
Click “Upload” in the "Desktop image” or “Mobile image” field to browse and select an image. Including an image in both formats ensures that the block will display as intended across all devices.
The “Desktop image” must be a 2100x607px .jpg that does not exceed 500KB. The “Mobile image” must be 600x520px and cannot be over 250KB.
Note: Clicking the three dots to the right of “Upload” will open a menu with the option to download a template or to delete the image.
Below the two image fields is the “Alt image” text field. Including a brief image description in the “Alt image” field is recommended; it makes the block better accessible for screen readers.
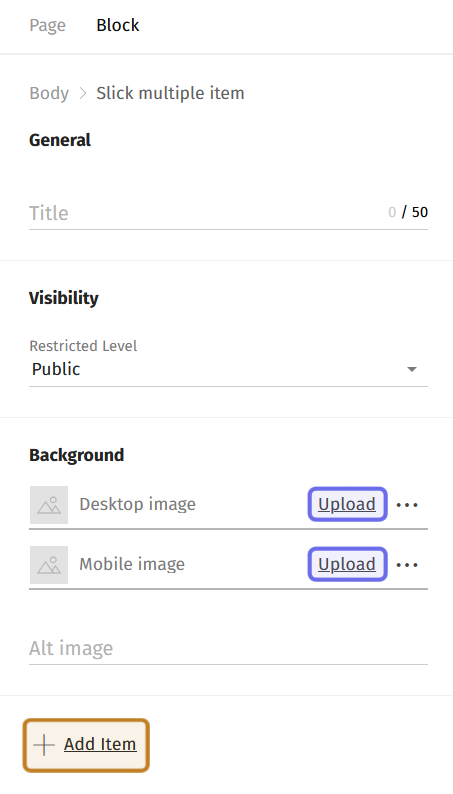
In the side panel above, the two “Upload” buttons have been highlighted in purple. The “+ Add Item” button that will place content over the background is highlighted in yellow.
Next, add items to the “Slick multiple items” block. An item sits in front of the background image and contains an image and title with additional optional fields.
To add an item, click the “+ Add Item” button. It is located either below the “Background” section or below the previously added item. This will add a new “Content” section.
At the top of the “Content” section for a new item are two text fields: “Title” and “Genre.”
Enter text in the “Title” field. This text will appear directly below the item image. There is a 25 character limit.
Then add text in the “Genre” field. This text will appear directly below the title. Its intended use is to list the content’s genres, but can also function as a subtitle field, if that suits the function of your block better. There is a character limit of 35.
Below the “Genre” field is a numerical “Position” field. Once you have added multiple items, you can use this field to order the items.
Note: The leftmost item is in position 1. If you do not edit the “Position” field, items will be displayed left to right in the order they were added.
Below “Position,” is the “Image” field. Click “Upload” on the right-hand side of the field to browse and select an image to represent the item. The image must have dimensions not over 215x289 pixels and a size that doesn’t exceed 100KB.
Next is the “Alt image” field, where you can add a short description of the item’s image. This text is not typically visible in the block, but is used by screen readers and if there is an issue loading the image.
As you fill out the fields, you can see a preview of what the item will look like over the background in the graphical layout on the left.
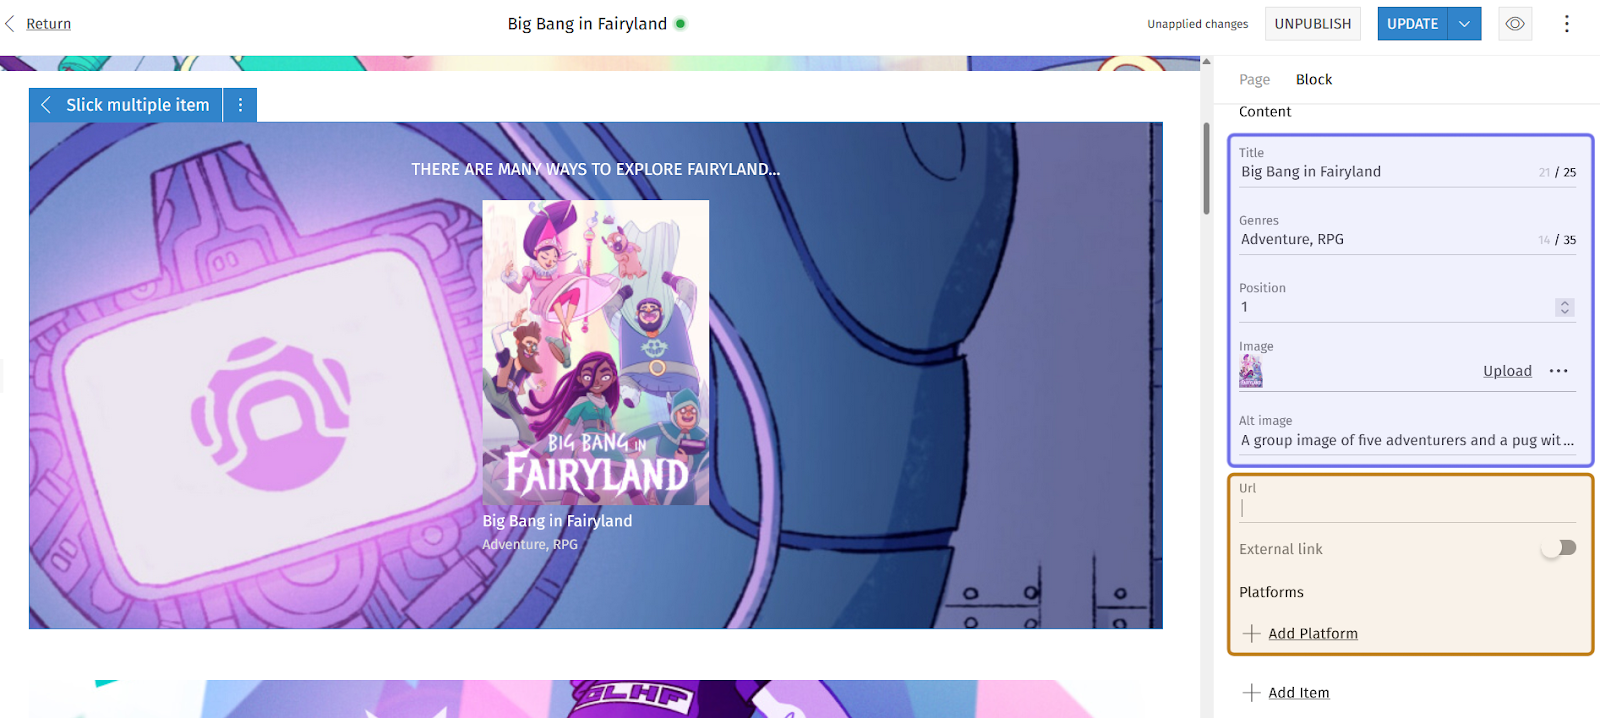
On the CMS page above, a “Slick multiple item” block is shown in the graphical layout on the left. The corresponding “Block” tab is shown in the side panel. The key item fields - including “Title,” “Genre,” and “Image” - are highlighted in purple. The optional “URL” field and “Add Platform” button are highlighted in yellow.
When adding an item, you can optionally add external links. Beneath “Alt image” is a “URL” text field. If you want to add a link, such as a game’s homepage, type the URL into the “URL field.”
Then, click the toggle found beneath the URL. An external link button will appear next to the item’s title. Clicking this button will take users to the specified URL.
You can also add a link to the game on different platforms.
To add a platform link, click the “+ Add Platform” button found near the bottom of the item’s “Content” section. This will add a dropdown and a text field.
Click the dropdown on the left. This opens a list of various game platforms. Select the platform you want to link to from the list.
To the right of the dropdown, add the game link in the “URL” field.
You can add another platform by clicking the “+ Add Platform” button and repeating the process. All platform logos will appear beneath the “Genre” text. Clicking on one of the logos will take a site visitor to the URL added in the “URL” field next to the dropdown.
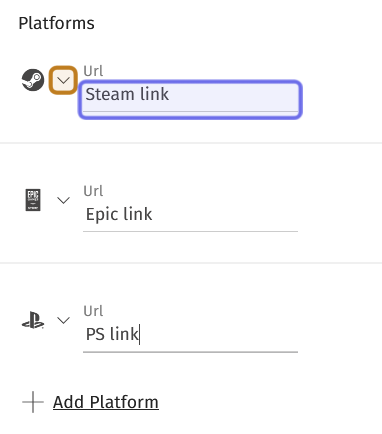
A “Platforms” section with three platforms added is shown above. The dropdown to select a platform is highlighted in yellow. The field to add a game link is highlighted in purple.
Click “+Add Item” at the bottom of the side panel and repeat the process to add a second item. Repeat the process until you have added all of your items.
Note: The block operates as a Slick carousel, so feel free to add more items than fit horizontally in the block! An arrow will appear to let users view the additional items.
Once you have added your items, remember to update the page!
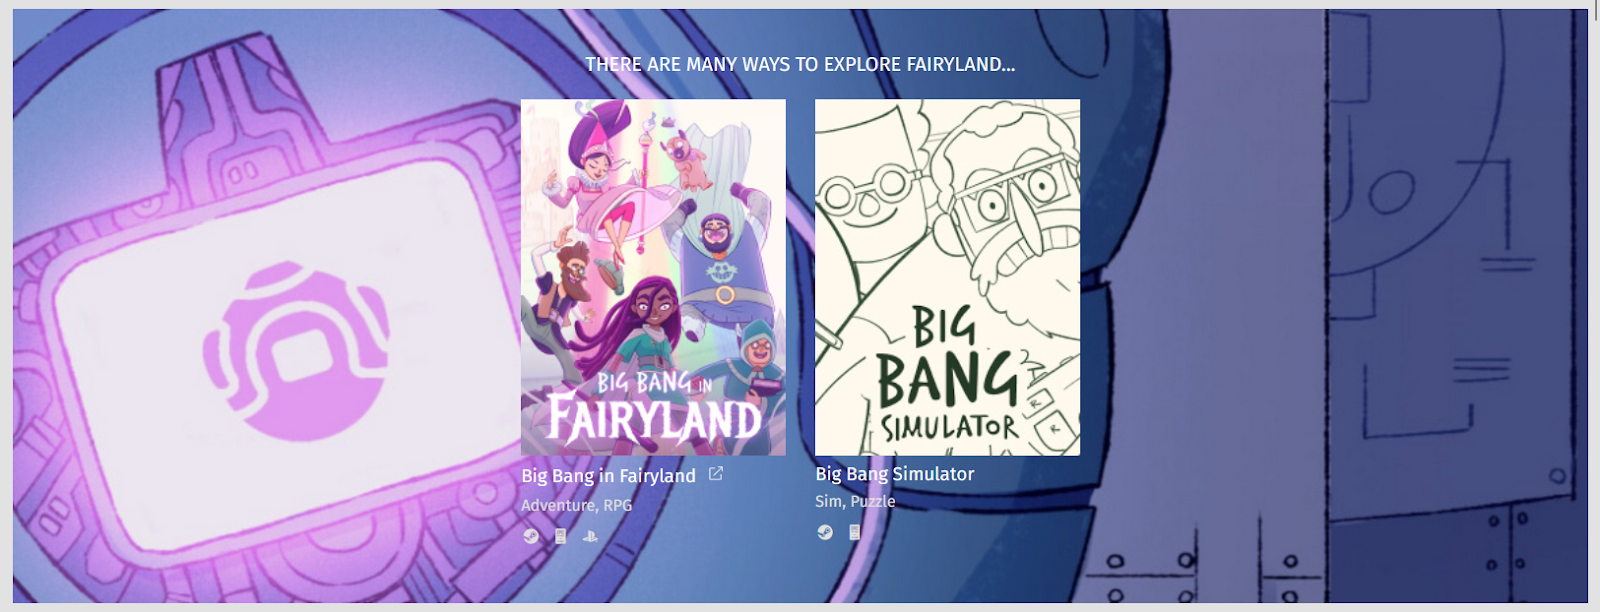
An example of a “Slick multiple item” block on the front end with two items.