
How to modify a “Game Showcase” content block?
Who can modify a “Game Showcase” block?
Devs and Admins can add and modify CMS blocks.
Where can I modify a “Game Showcase” block?
You can add and modify blocks in the CMS. Find the CMS for the landing page and for Universes and Studios in the back office.
Once you are on the CMS for the page with the “Game Showcase” block you want to modify, you will see a graphical representation of the page layout on the left and a layout side panel on the right.
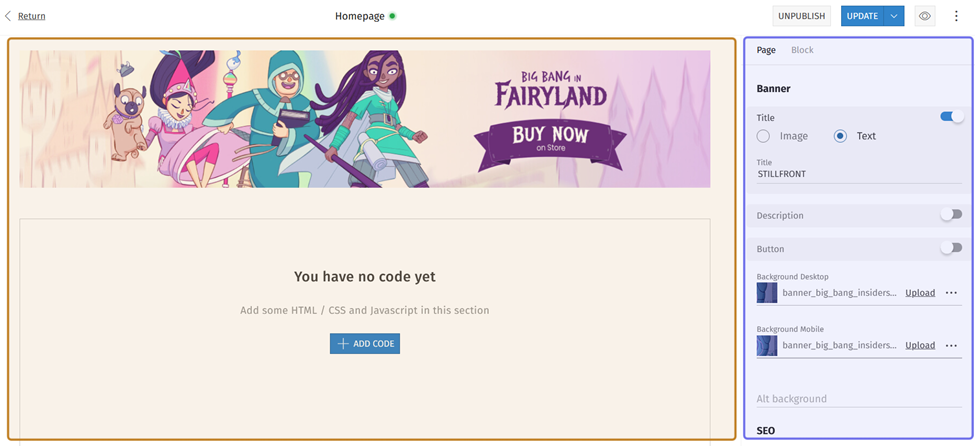
An example of the CMS is pictured above. The graphical layout is highlighted in yellow. The side panel is highlighted in purple.
How do I modify a “Game Showcase” block?
To add a new CMS block to a page, click the “+” button. Hovering over any block in the graphical layout view on the left will bring up the “+” button.
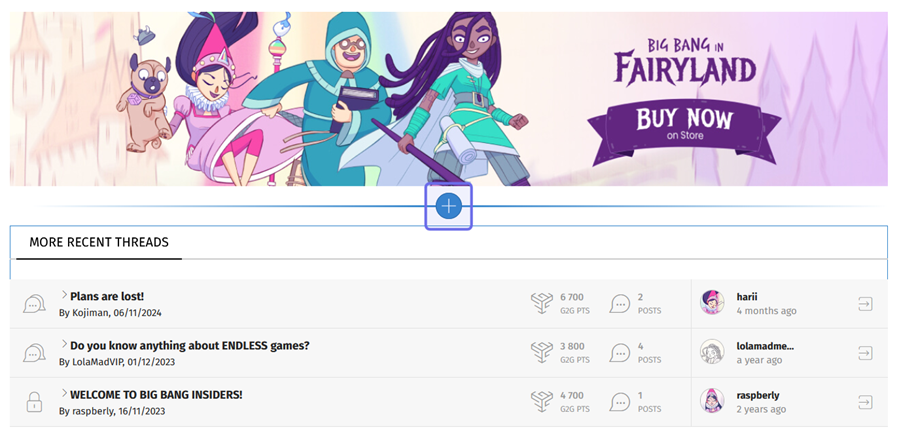
An example of the graphical layout of the CMS is above. The “+” button to add a new block is highlighted in purple.
Clicking on the “+” button opens a menu with all the available CMS block options. Begin typing “Game Showcase” into the search bar at the top of the menu. This will bring up two results: “Game showcase/Full-game” and “Game showcase/Double-game.”
You can also scroll through the list to find the block you want to add.
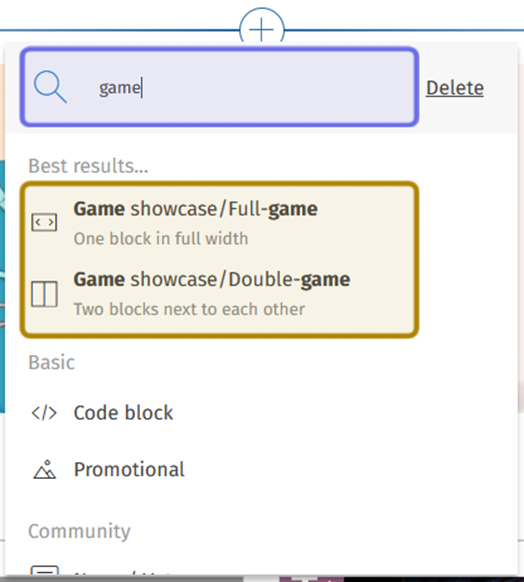
The search bar at the top of the “+” menu is shown highlighted in purple above. The results show two options for adding a “Game Showcase” block, highlighted in yellow.
Click on one of the “Game Showcase” options. “Game showcase/Full-game” adds a “Game Showcase” block for a single game. Use “Game showcase/Double-game” if you would like to add a “Game Showcase” block that displays two games. The new block will be added to the layout.
Bring up the customization options for the block in the side layout by clicking on the block. You can also select the “Block” tab from the side panel on the right and choose the block from the list.
Note: If you add a “Game showcase/Double-game” block, the top of the side panel will have the fields for “Game 1.” This is the game that will appear on the left of the block.
The first section in the side panel is “Visibility.” Use the “Restriction Level” dropdown in this section to limit who can see the block on the front end. Select the lowest Restriction Level you want to be able to view the block. If you want the block to be visible to all visitors, leave the dropdown at the default setting, “Public.”
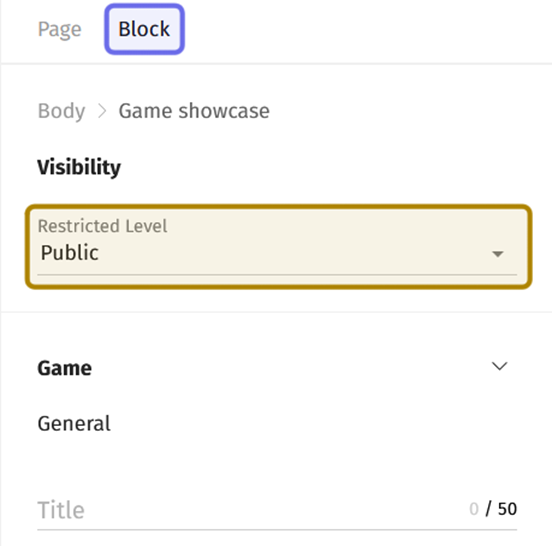
The top of the CMS side panel is shown above. The “Block” tab is highlighted in purple. The “Restriction Level” dropdown is highlighted in yellow.
Below that you will see the “General” section. This is where you can add the game’s basic info. Enter the game’s name in the “Title” field. There is a 50 character limit.
Then, add a summary or other descriptive text in the “Description” field.
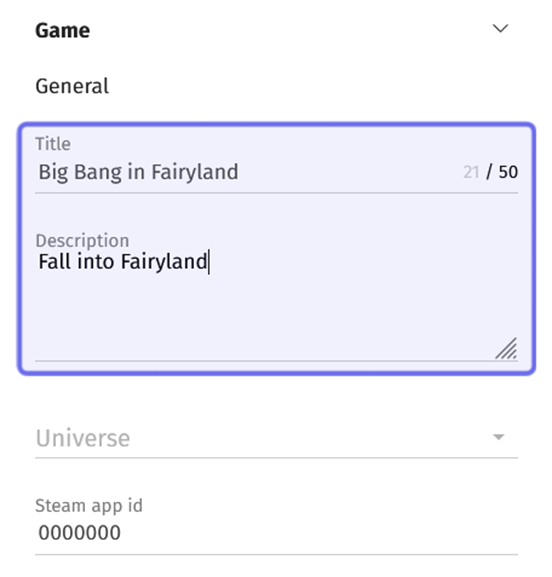
The side panel’s “General” section is shown above. The “Title” and “Description” fields are highlighted in purple.
The “Universe” dropdown is located beneath the “Title” and “Description” fields. Click on the “Universe” dropdown to open a list of all of the Studio’s Universes. Select the applicable Universe from the list.
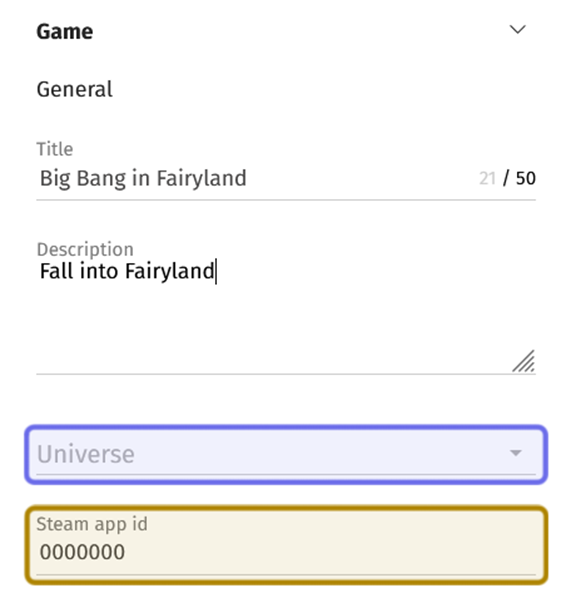
The “Universe” dropdown is highlighted in purple.
The “Steam app id” field is highlighted in yellow.
A “Game Showcase” block can automatically pull in assets from the game’s Steam listing. Add the game’s Steam App ID in the field beneath the “Universe” dropdown. The Steam App ID is a seven digit identifier unique to the game generated by Steam.
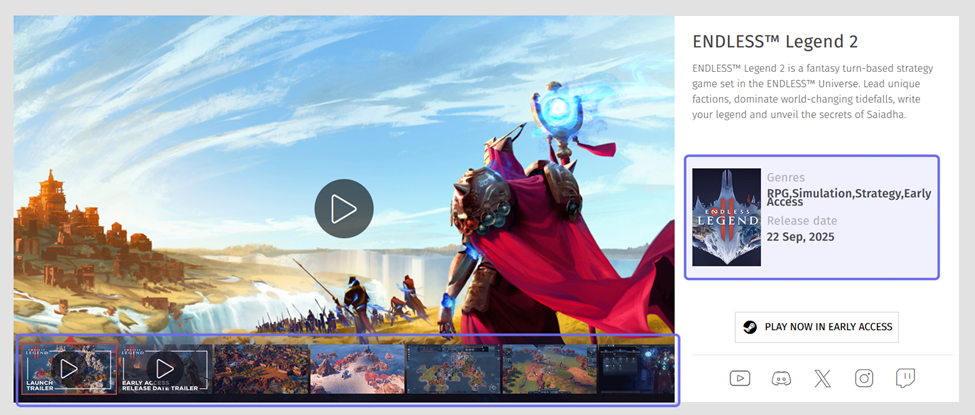
A “Game Showcase” block displaying one game is shown above. The details and media pulled in from Steam are outlined in purple.
Next is the “Media” section. It contains two fields to add an image. The top field is labeled “Packshot.” This field is for a small image of the game’s cover. The image should be a 200x284px JPEG not over 100KB. Add a packshot by clicking the “Upload” button on the right side of the field.
Note: If you are modifying a “Game showcase/Double-game” block, there will not be a “Packshot” image field.
The next field is labeled “Thumbnail.” Use this field to add a game image that is a 1024x576px JPEG not over 500KB. Click the “Upload” button on the right side of the “Thumbnail” field to add a thumbnail image.
Note: If you aren’t sure your image is the correct size, click on the three dots on the rightmost side of the image field. This opens a menu where you can download a template or delete a previously uploaded image.
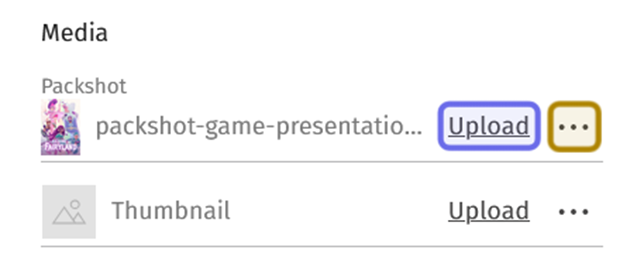
The two image fields in the “Media” section are shown above. The “Upload” button is highlighted in purple. The three dots that open an additional menu are highlighted in yellow.
Under “Media” there is a subsection labeled “Main button.” The subsection contains an icon dropdown and two text fields. These fields are used to customize the call-to-action button at the bottom of the “Game Showcase” block.
Click the icon dropdown and select the type of destination the button will link to. Select either the distribution platform (Steam, Epic, etc.) or “External,” if you are adding a custom URL.
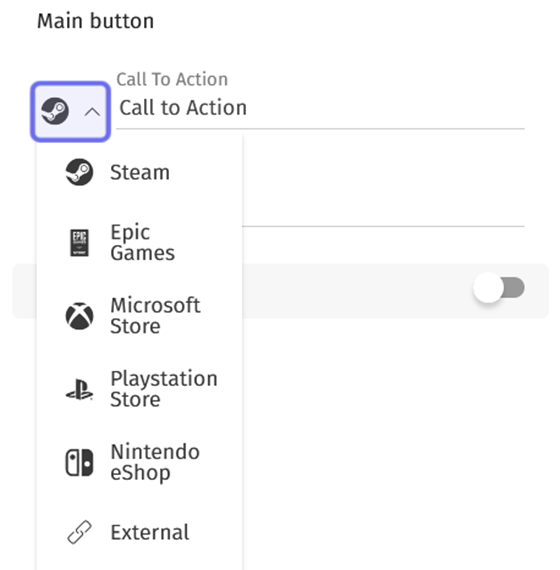
The icon dropdown in the “Main button” subsection is highlighted in purple above. The dropdown is shown expanded with the options listed.
Next to the dropdown is the “Call to Action” field. This is the text that will appear on the button. Type a short instruction for users in the “Call to Action” field, such as “Buy Here” or “Pre-order Now.”
Then, enter a URL in the “Link” field. This is the web address that the button will link to.
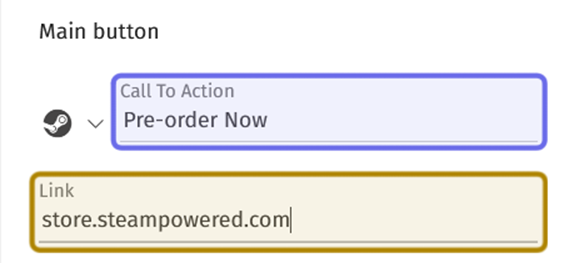
The “Main button” section’s “Call To Action” field is highlighted in purple above.
The “Link” field is highlighted in yellow.
Between the “Link” field and the “Socials” section, there is a toggle labeled “Reveal page button.” This allows you to add a second link below the main button. Click to toggle on.
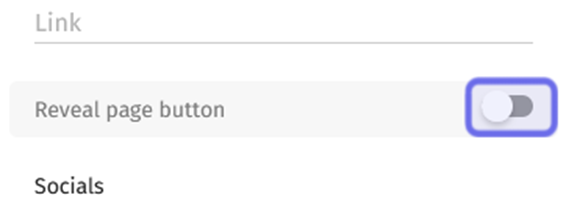
An inactive “Reveal page button” toggle is highlighted in purple above.
The second link will appear as text only. Enter the text to be displayed in the “Call to action” field. There is a 20 character limit.
Then, add the URL that text should link to in the “Link” field.
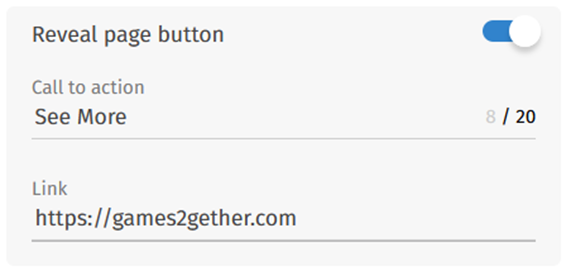
In the image above, the “Reveal page button” toggle is active.
This has added additional “Call to action” and “Link” fields.
The last customizable section is “Socials.” This is where you can add links to your social profiles. To link to a social media profile, click “Add Socials.”
The “Socials” section is shown above with no profile links added. Clicking the “Add Socials” button, highlighted in purple, will add fields for the first profile link.
Clicking “Add Socials” will add a dropdown and “Link” field. Click on the dropdown to select the social media platform you are going to link to.
You can add a link to the following platforms:
Facebook
YouTube
Twitter/X
Discord
Steam
Twitch
Instagram
TikTok
Threads
Bluesky
Next to the dropdown, enter the URL of your social profile in the field labeled “Link.”
You can add additional links by clicking “Add Social” again. Repeat the process until you have added all of the profiles you want to share.
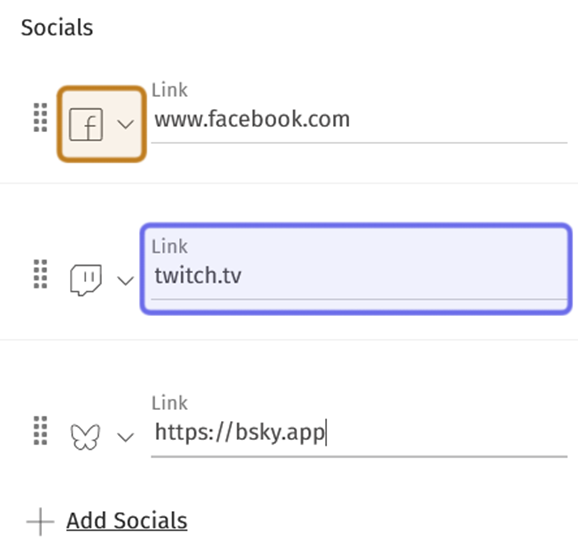
The “Socials” section is shown above. An example of the dropdown is highlighted in yellow. An example of the “Link” field is highlighted in purple.
If all of the link options are used, they will appear as shown below:
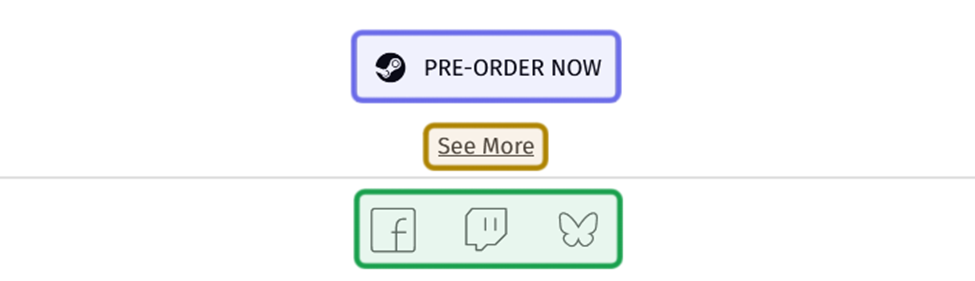
The “Main button” subsection’s fields customize the button highlighted in purple. The “Reveal page button” fields customize the link highlighted in yellow. The icons highlighted in green were added in the “Socials” section.
If you selected “Game showcase/Double-game,” you will see “Game 2” beneath “Socials.” Repeat the process above using the fields listed under “Game 2.” These details will fill the right side of the CMS block.
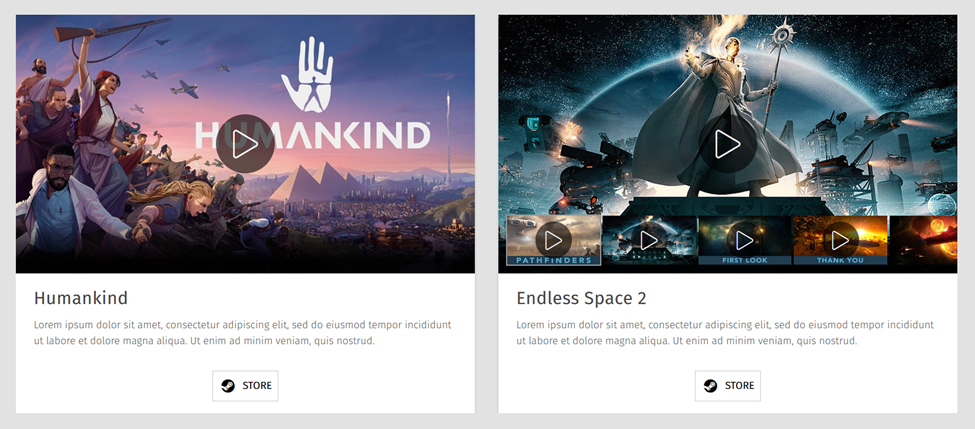
A “Game showcase/Double-game” block is shown above.
Once you have finished modifying the block, click the “Update” button to publish the changes on the front end.

The “Update” button, found in the CMS’s top-right, is outlined above in purple.
The “Update” button takes the place of the “Publish” button in the top-right corner of the CMS. Following the same process as scheduling publication, you can also schedule an update.