
What are the “Bugs” feature settings?
Who can access the “Bugs” feature settings?
Devs and Admins can access the “Bugs” feature settings through the back office.
Where can I find the “Bugs” feature settings?
You can find the “Bugs” feature settings in the back office. Find the Universe you need in the “Manage” menu and locate the “Bugs” feature. You will land on the “Bugs” dashboard.
There is a “Settings” button in the page header on the right-hand side. Click the “Settings” button.
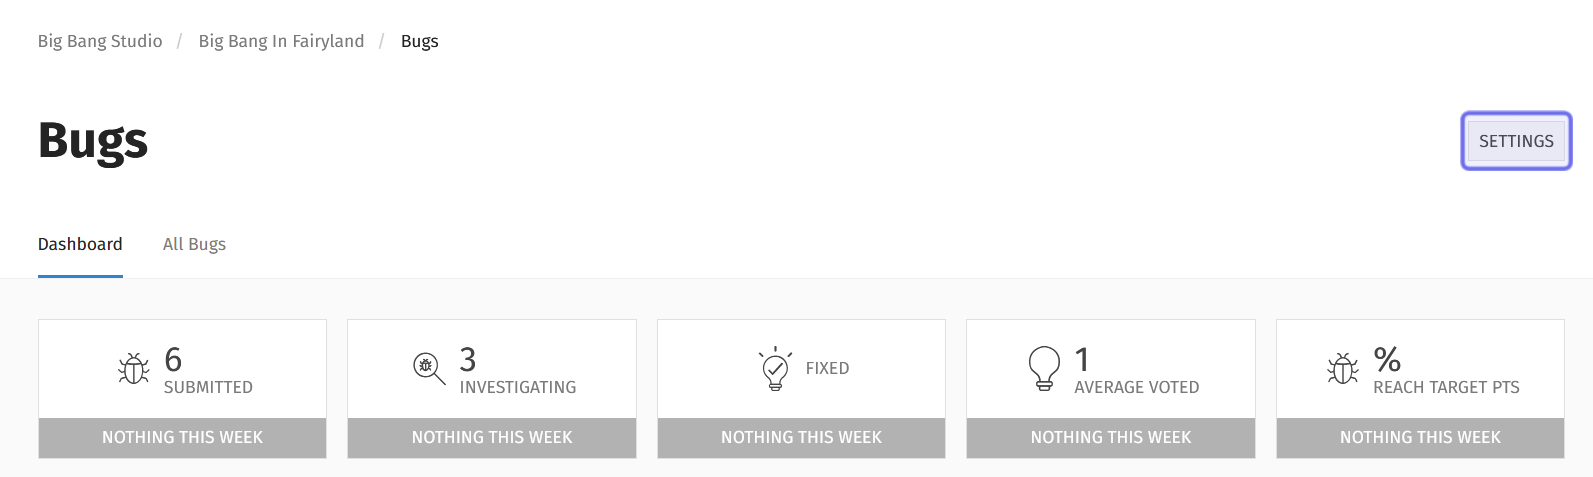
The “Settings” button is shown highlighted in purple.
This will take you to the “Bugs” feature settings.
What are the “Bugs” feature settings?
The “Settings” page is where you can make all sorts of changes to how the “Bugs” feature operates on the front end. Different options can be accessed via the tabs beneath the page header.
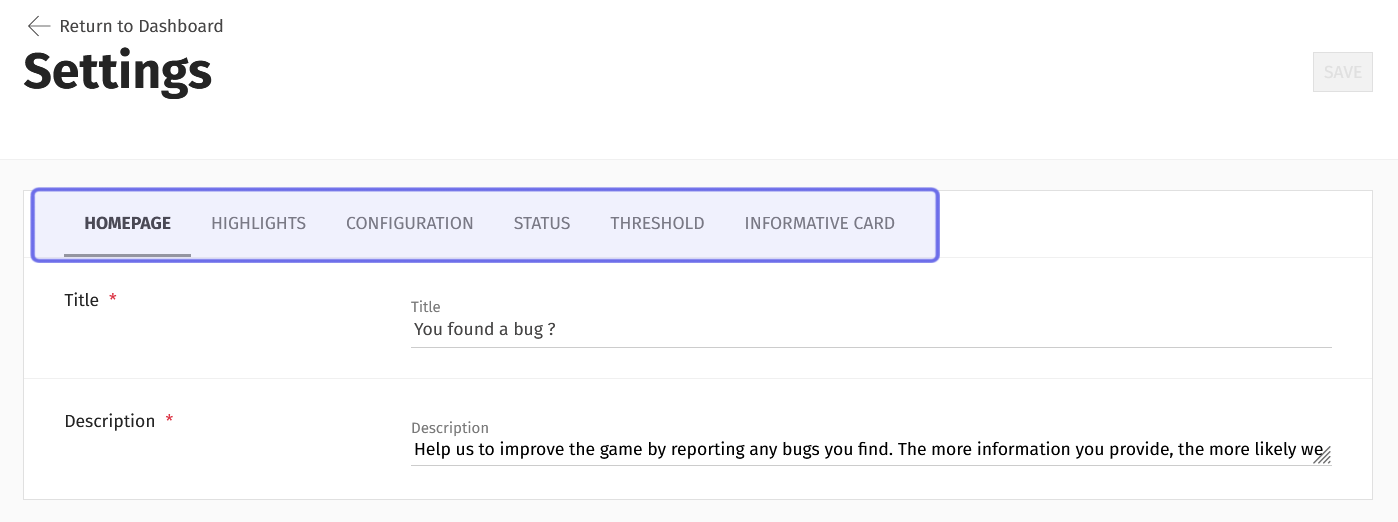
The tabs on the “Settings” page are highlighted in purple above.
Homepage
The “Homepage” tab has two fields: a “Title” text field and a “Description” text field. These fields determine the core text on this Universe’s “Bugs” page on the front end. The text entered here will appear directly above the bug search bar and “Create” button.
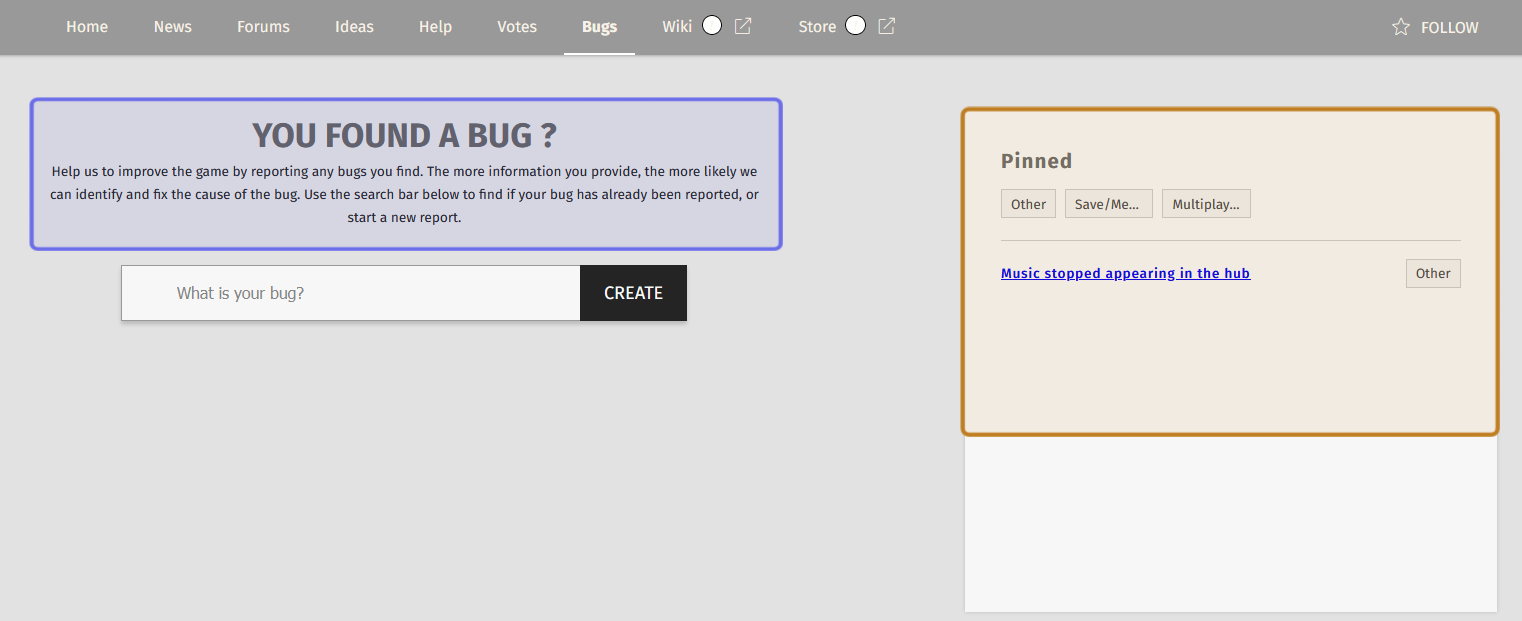
A Universe’s “Bugs” page is shown above. The title and description are highlighted in purple. The highlighted bugs are outlined in yellow.
Highlights
You can organize the bugs that are featured on the front-end “Bugs” page under the “Highlights” tab. Highlighting bugs is a good way to demonstrate good uses of the feature for users. These bugs appear next to the “Homepage” text and “Create” button.
The “Highlights” tab on the “Settings” page includes a dropdown that lists all submitted bugs and the option to organize how these bugs are listed on the front end.
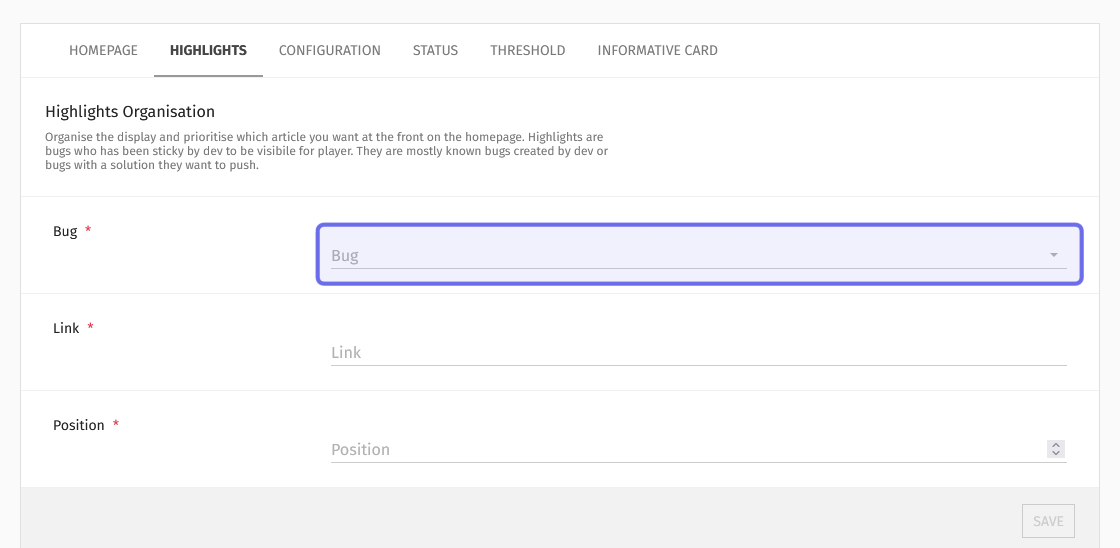
The dropdown to select a bug under the “Highlights” tab is outlined in purple above.
Configuration
The “Configuration” tab is where the bug report flow can be modified. Each of this tab’s subsections align to a step in the bug report process. You can edit descriptions, visibility, and various other elements a user interacts with when they make a report.
The “Configuration” tab is also where you can manage bug categories, manage game versions, and manage the file types that can be uploaded.
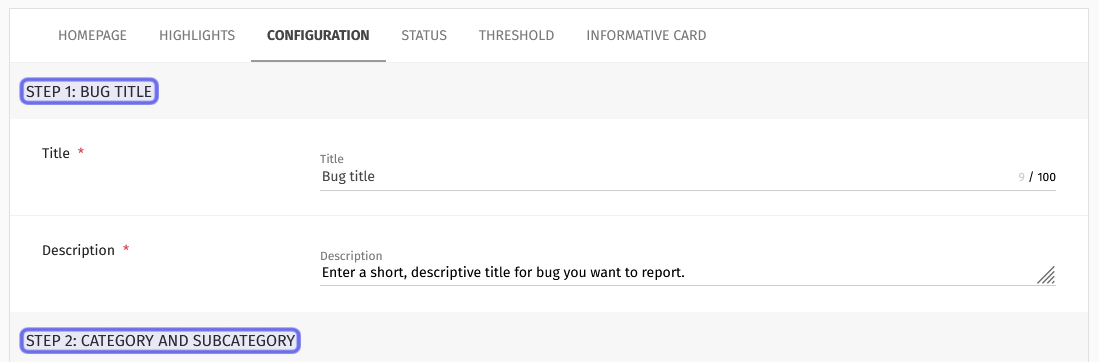
Two of the steps under the “Configuration” tab are highlighted in purple above.
Status
Statuses can be added, edited, and deleted under the “Status” tab.
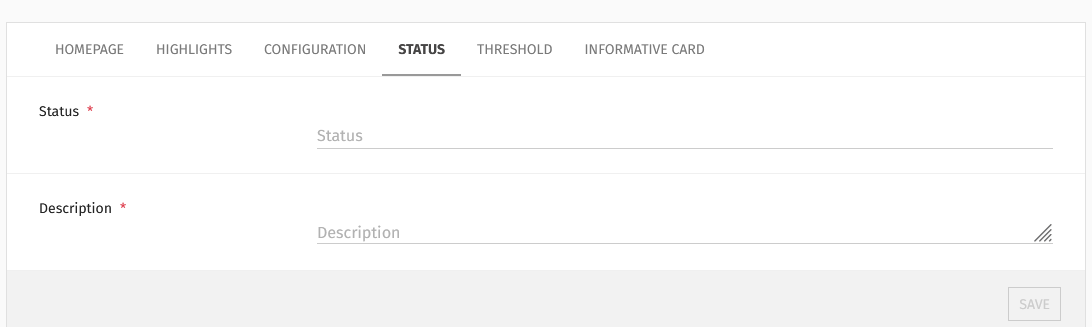
The fields used to create a new status under the “Status” tab.
You can also find a list of the statuses that are available to choose from when setting a status for an individual bug report.
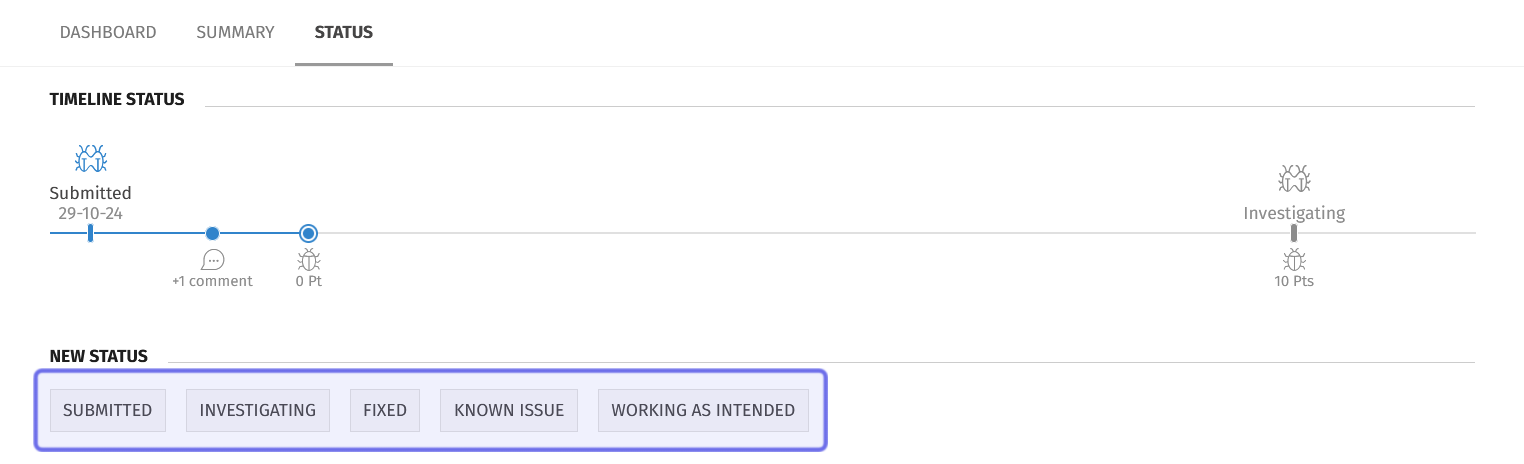
Options to set a bug status in the back office are highlighted in purple above.
Threshold
The “Threshold” tab is where you can set the number of upvotes needed before a bug is automatically set to “Investigating.” The status will update when the number of upvotes equals the threshold plus one.
The threshold is visible to users on the front end. The “Upvote Gauge” on an individual bug report lets users see how many upvotes are needed to meet the “Investigating” threshold.
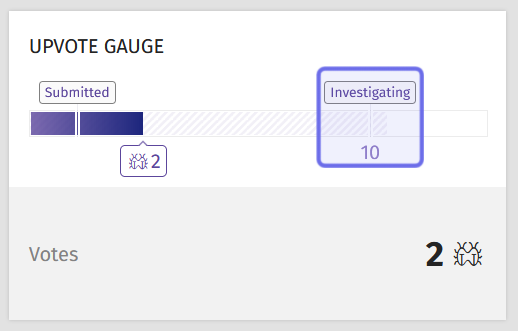
An example of the “Upvote Gauge” on the front end is shown above. The “Investigating” threshold is highlighted in purple.
Informative Card
The “Informative Card” tab lets you create a note for users on an individual bug report. It will be placed beneath the “Upload Gauge” on the front end. It is a good place to set expectations for users, such as how long they can expect to wait before the bug’s status is updated.

An example of an individual bug report on the front end. The “Informative Card” is highlighted in purple.